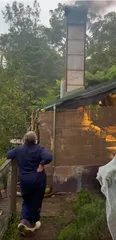
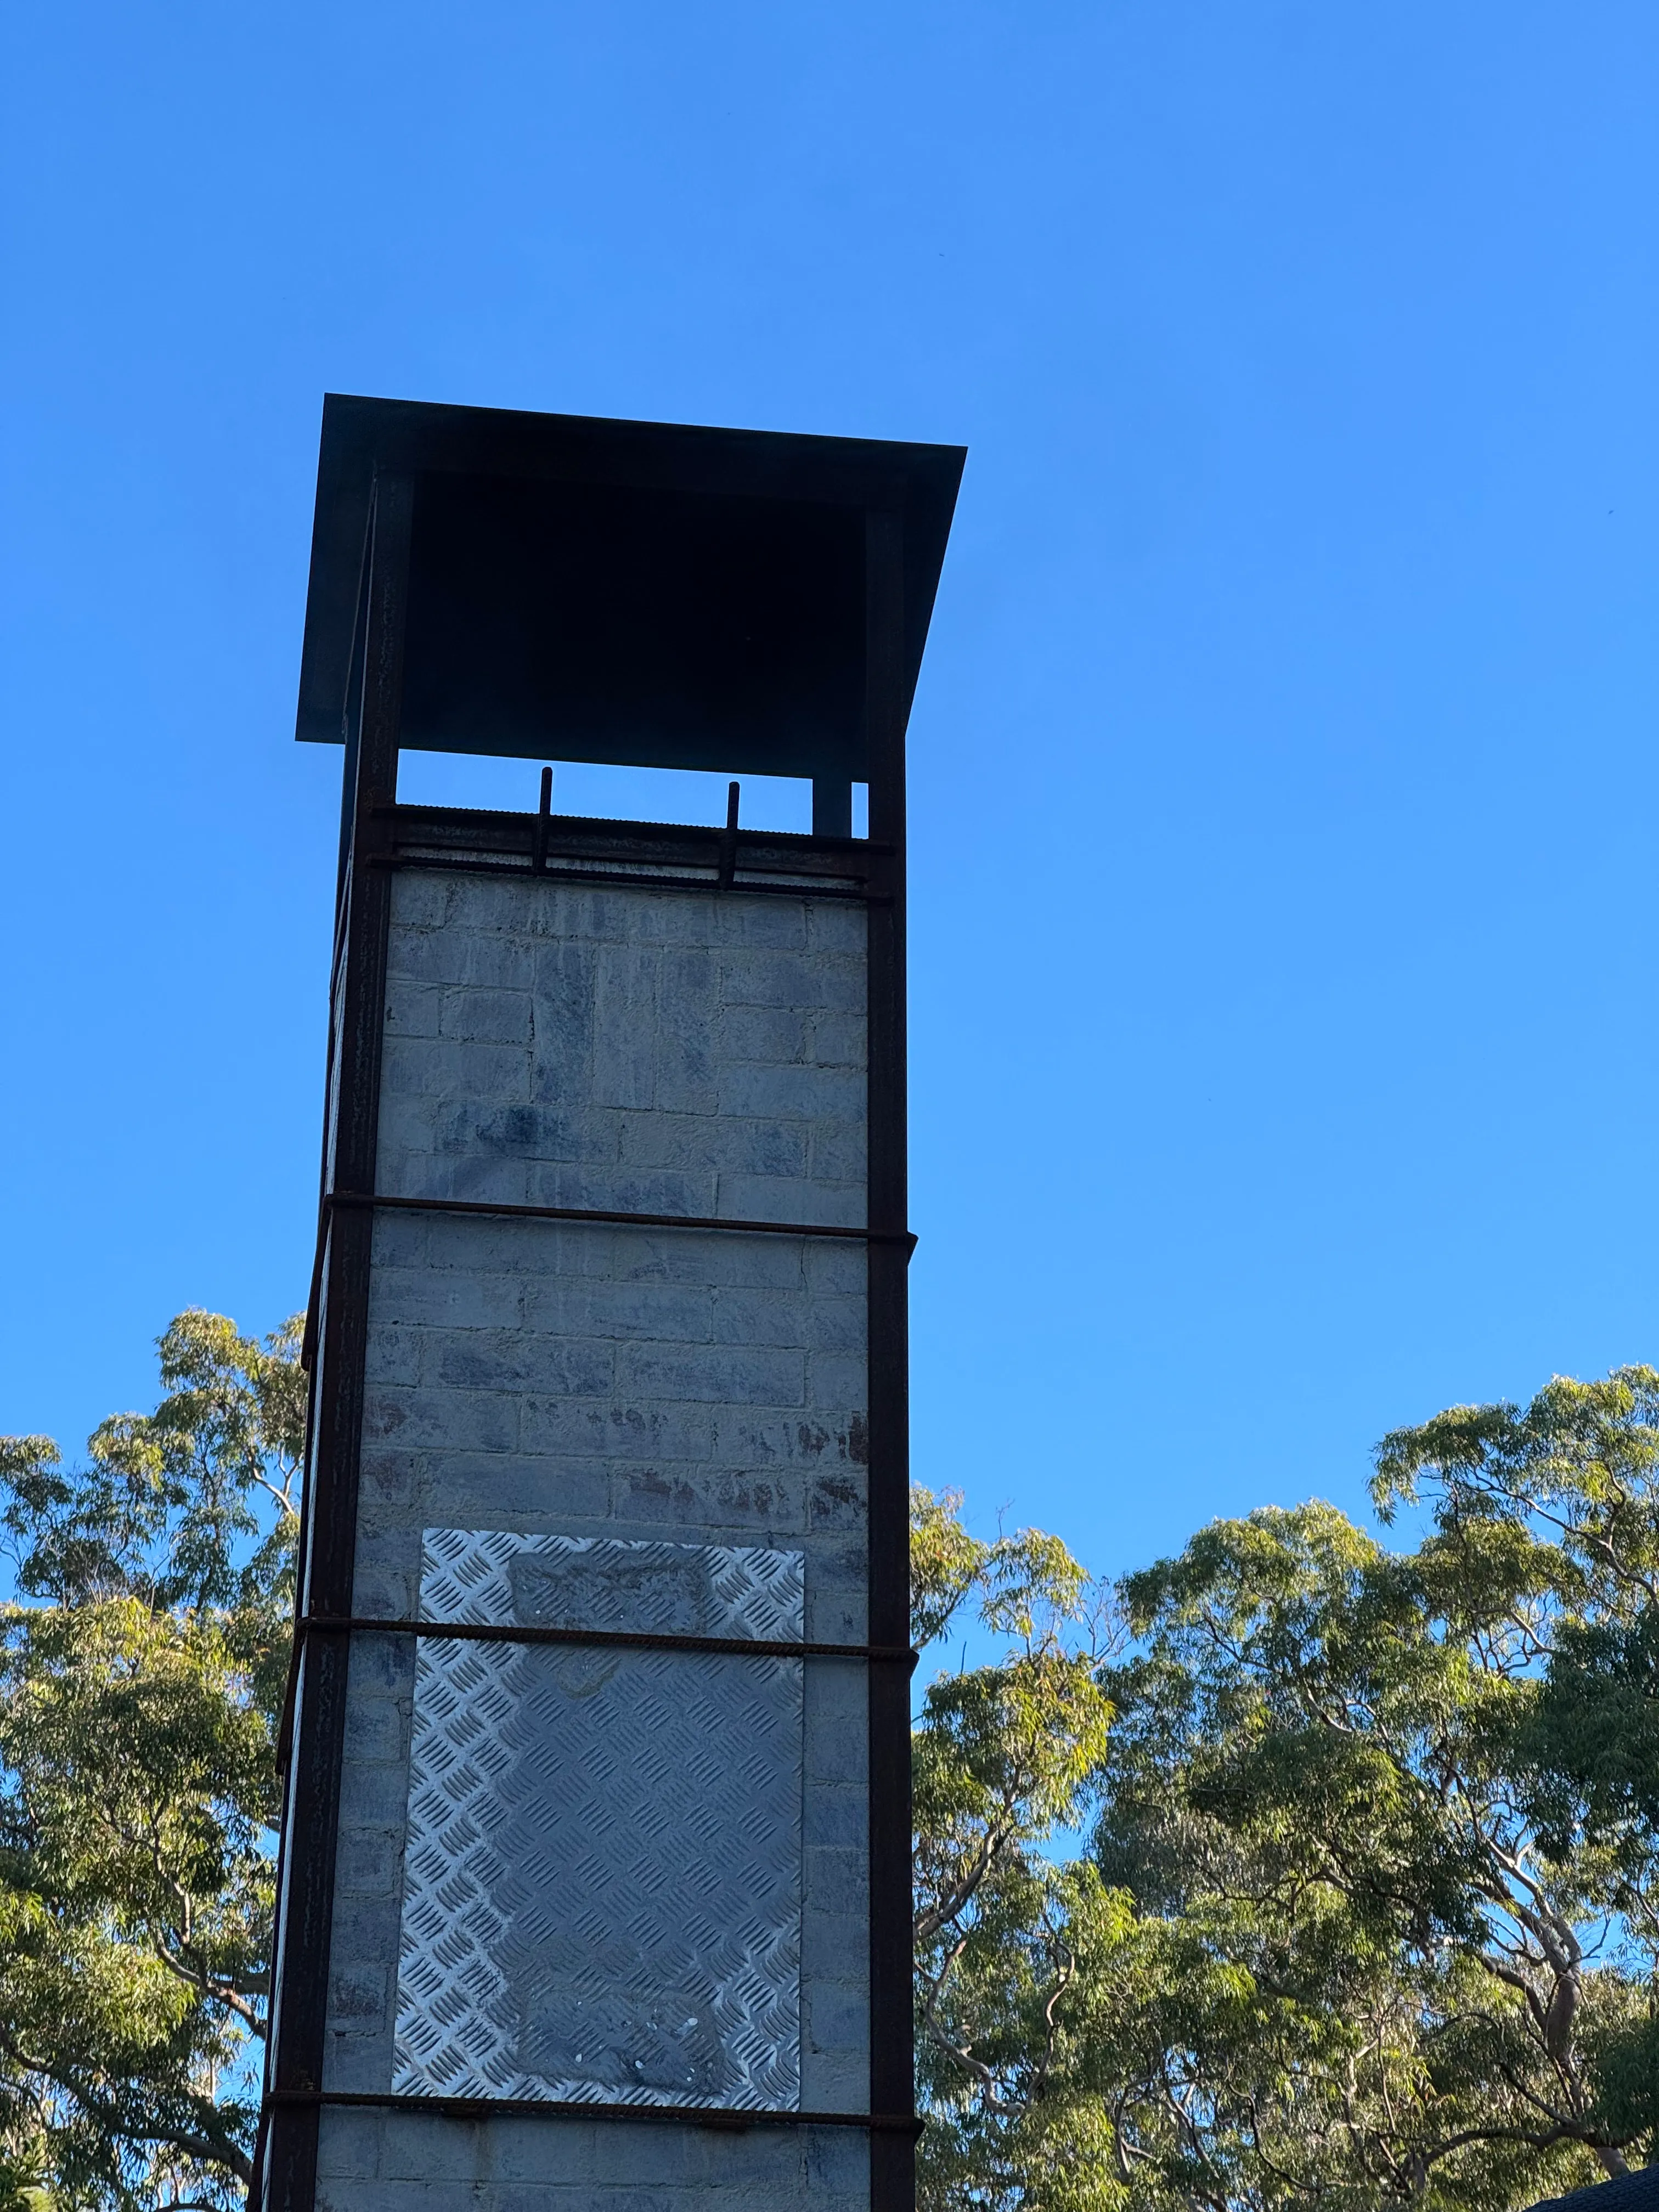
Sandy Lucinda Wood Kiln in action May 2026
Wood Firing is such a huge process!
Every kiln is different.
There is a basic idea that can be taught about how fire can heat up an insulated box of pots, however it is something else to bring each kiln's firing to a tasty outcome of this recipe. The processes and results are as vast and different as making a complex menu for fancy restaurant. We know that to make an outstanding wine, sour dough, panna cotta, bouillabaisse, soufflé or a master stock it is time consuming and relies on fresh ingredients, perfect oven temperatures, cutting and preparing skills and even weather conditions. And perhaps most importantly a passion to keep experimenting and practicing until you do it well.
I thought I would share with you my process to date with my wood kiln- 'Sandy-Lucinda' which I have just fired solo over the last four days.
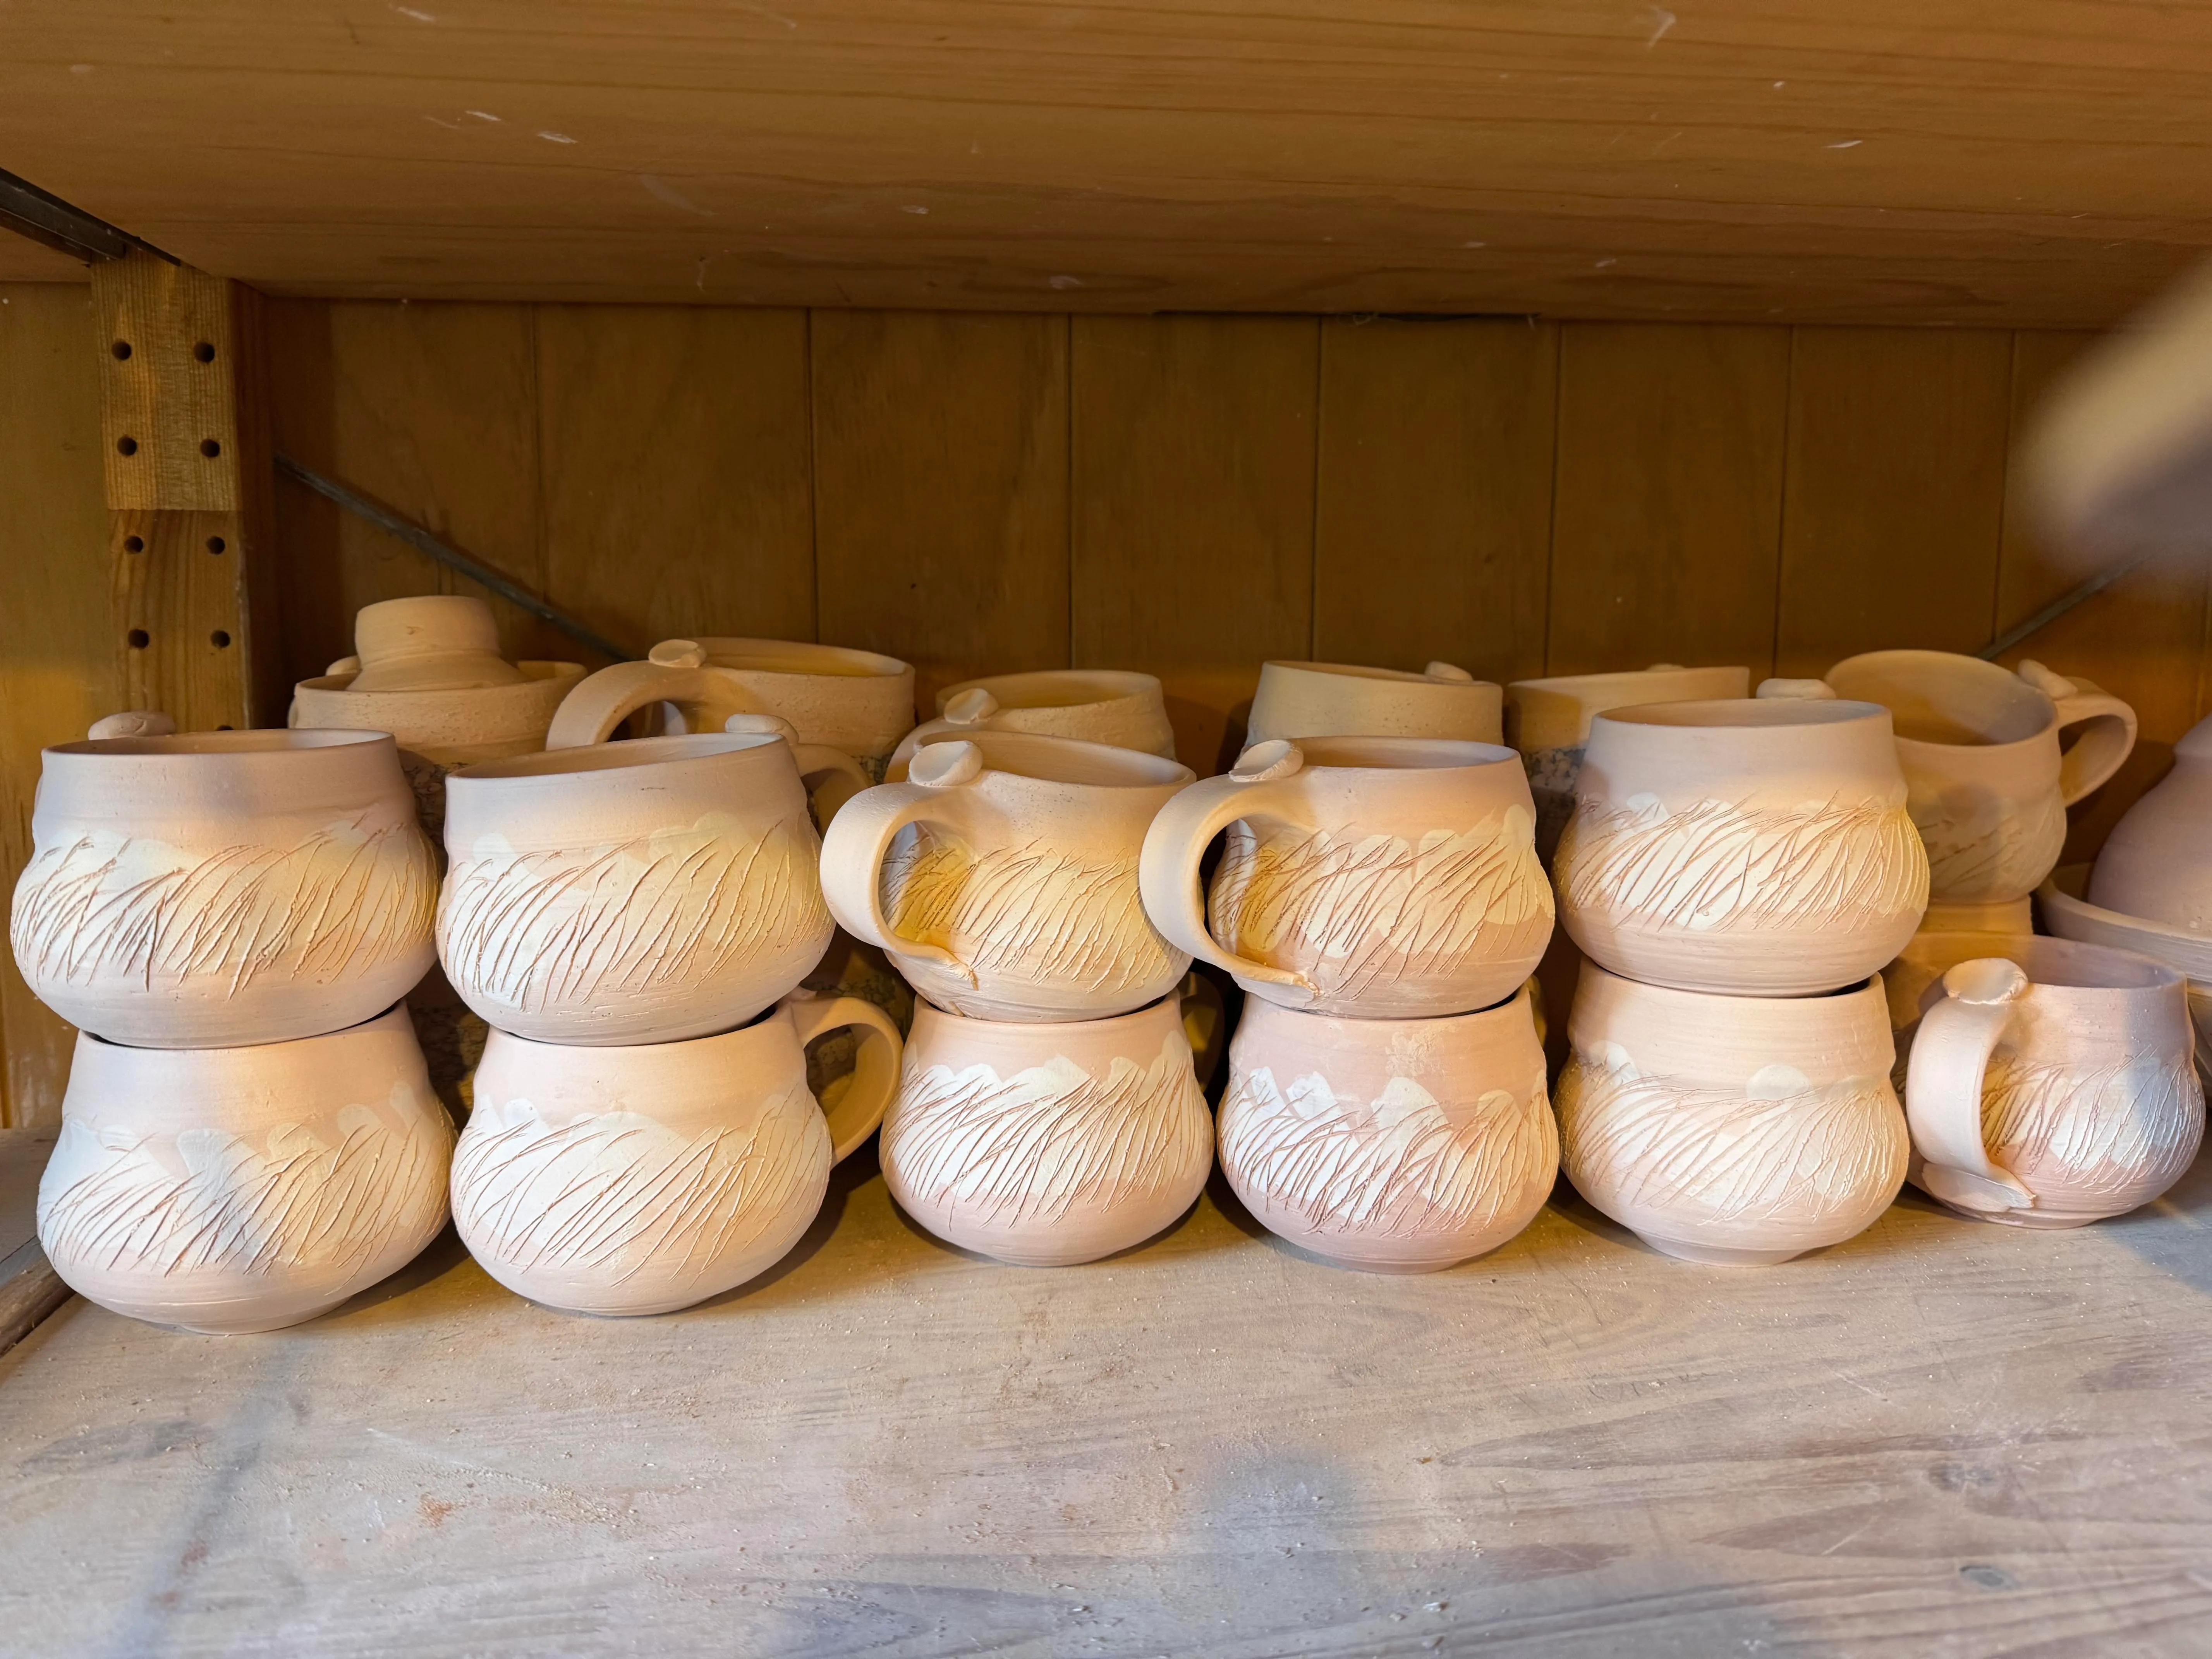
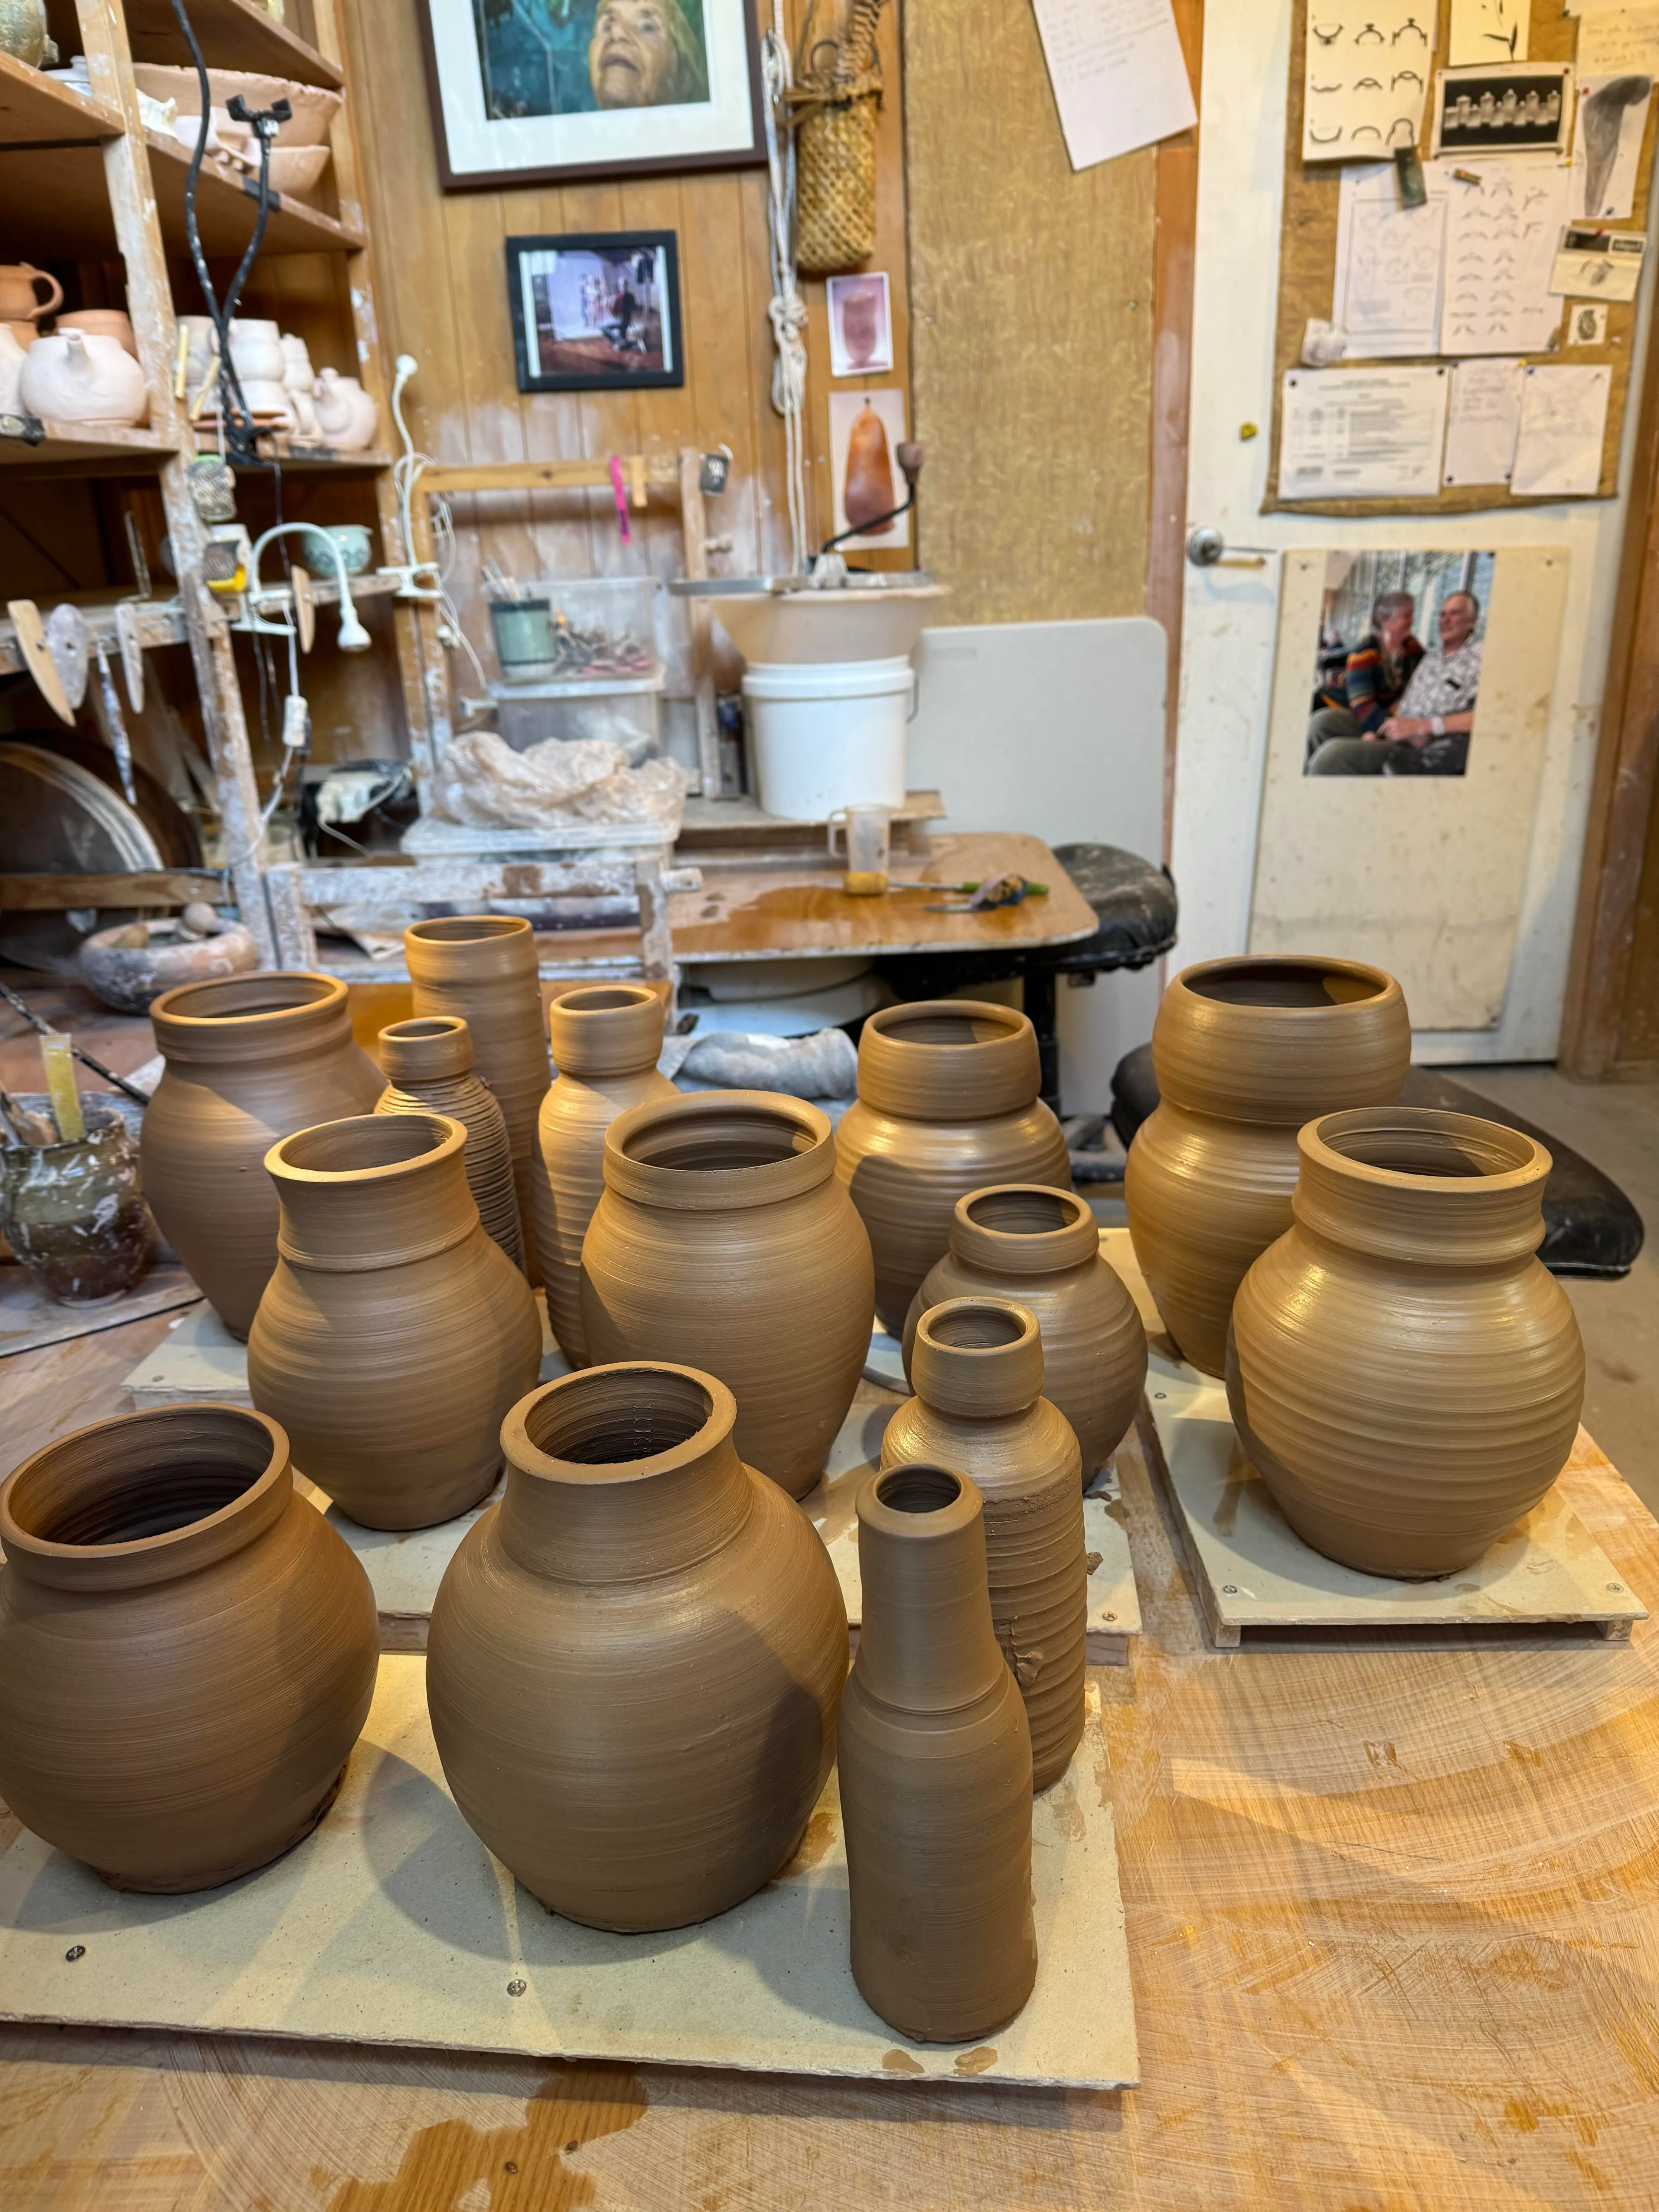
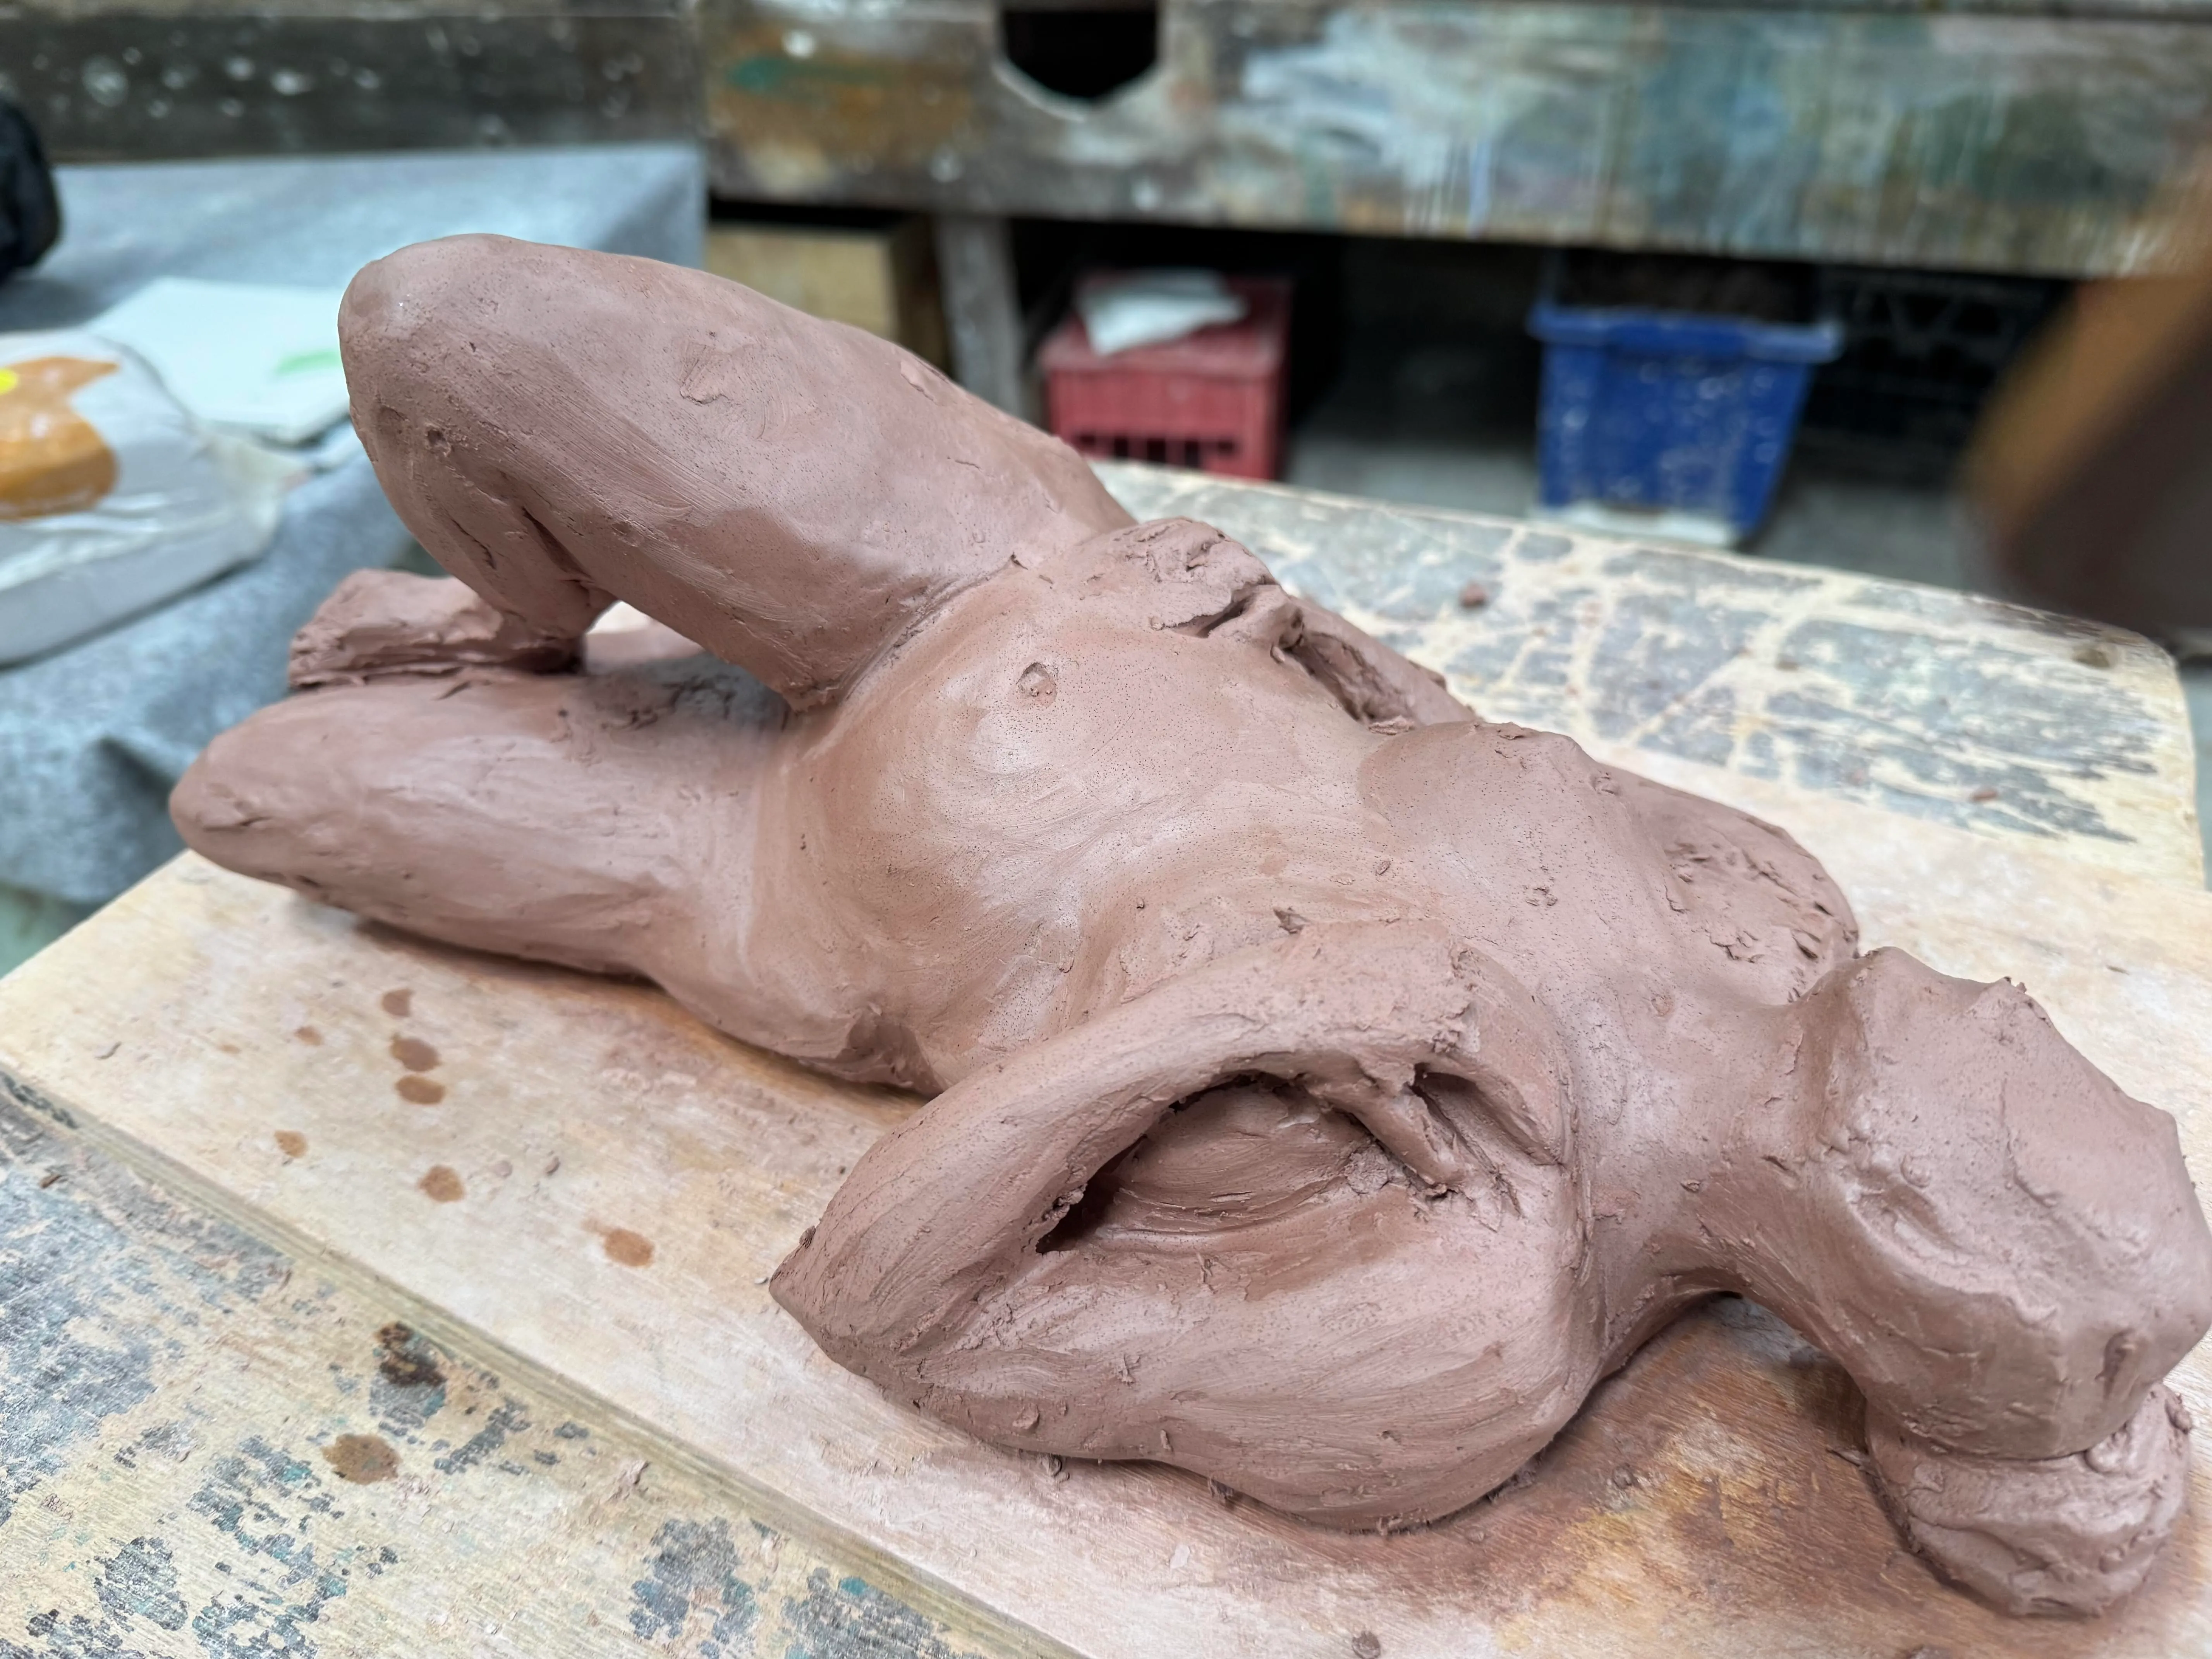
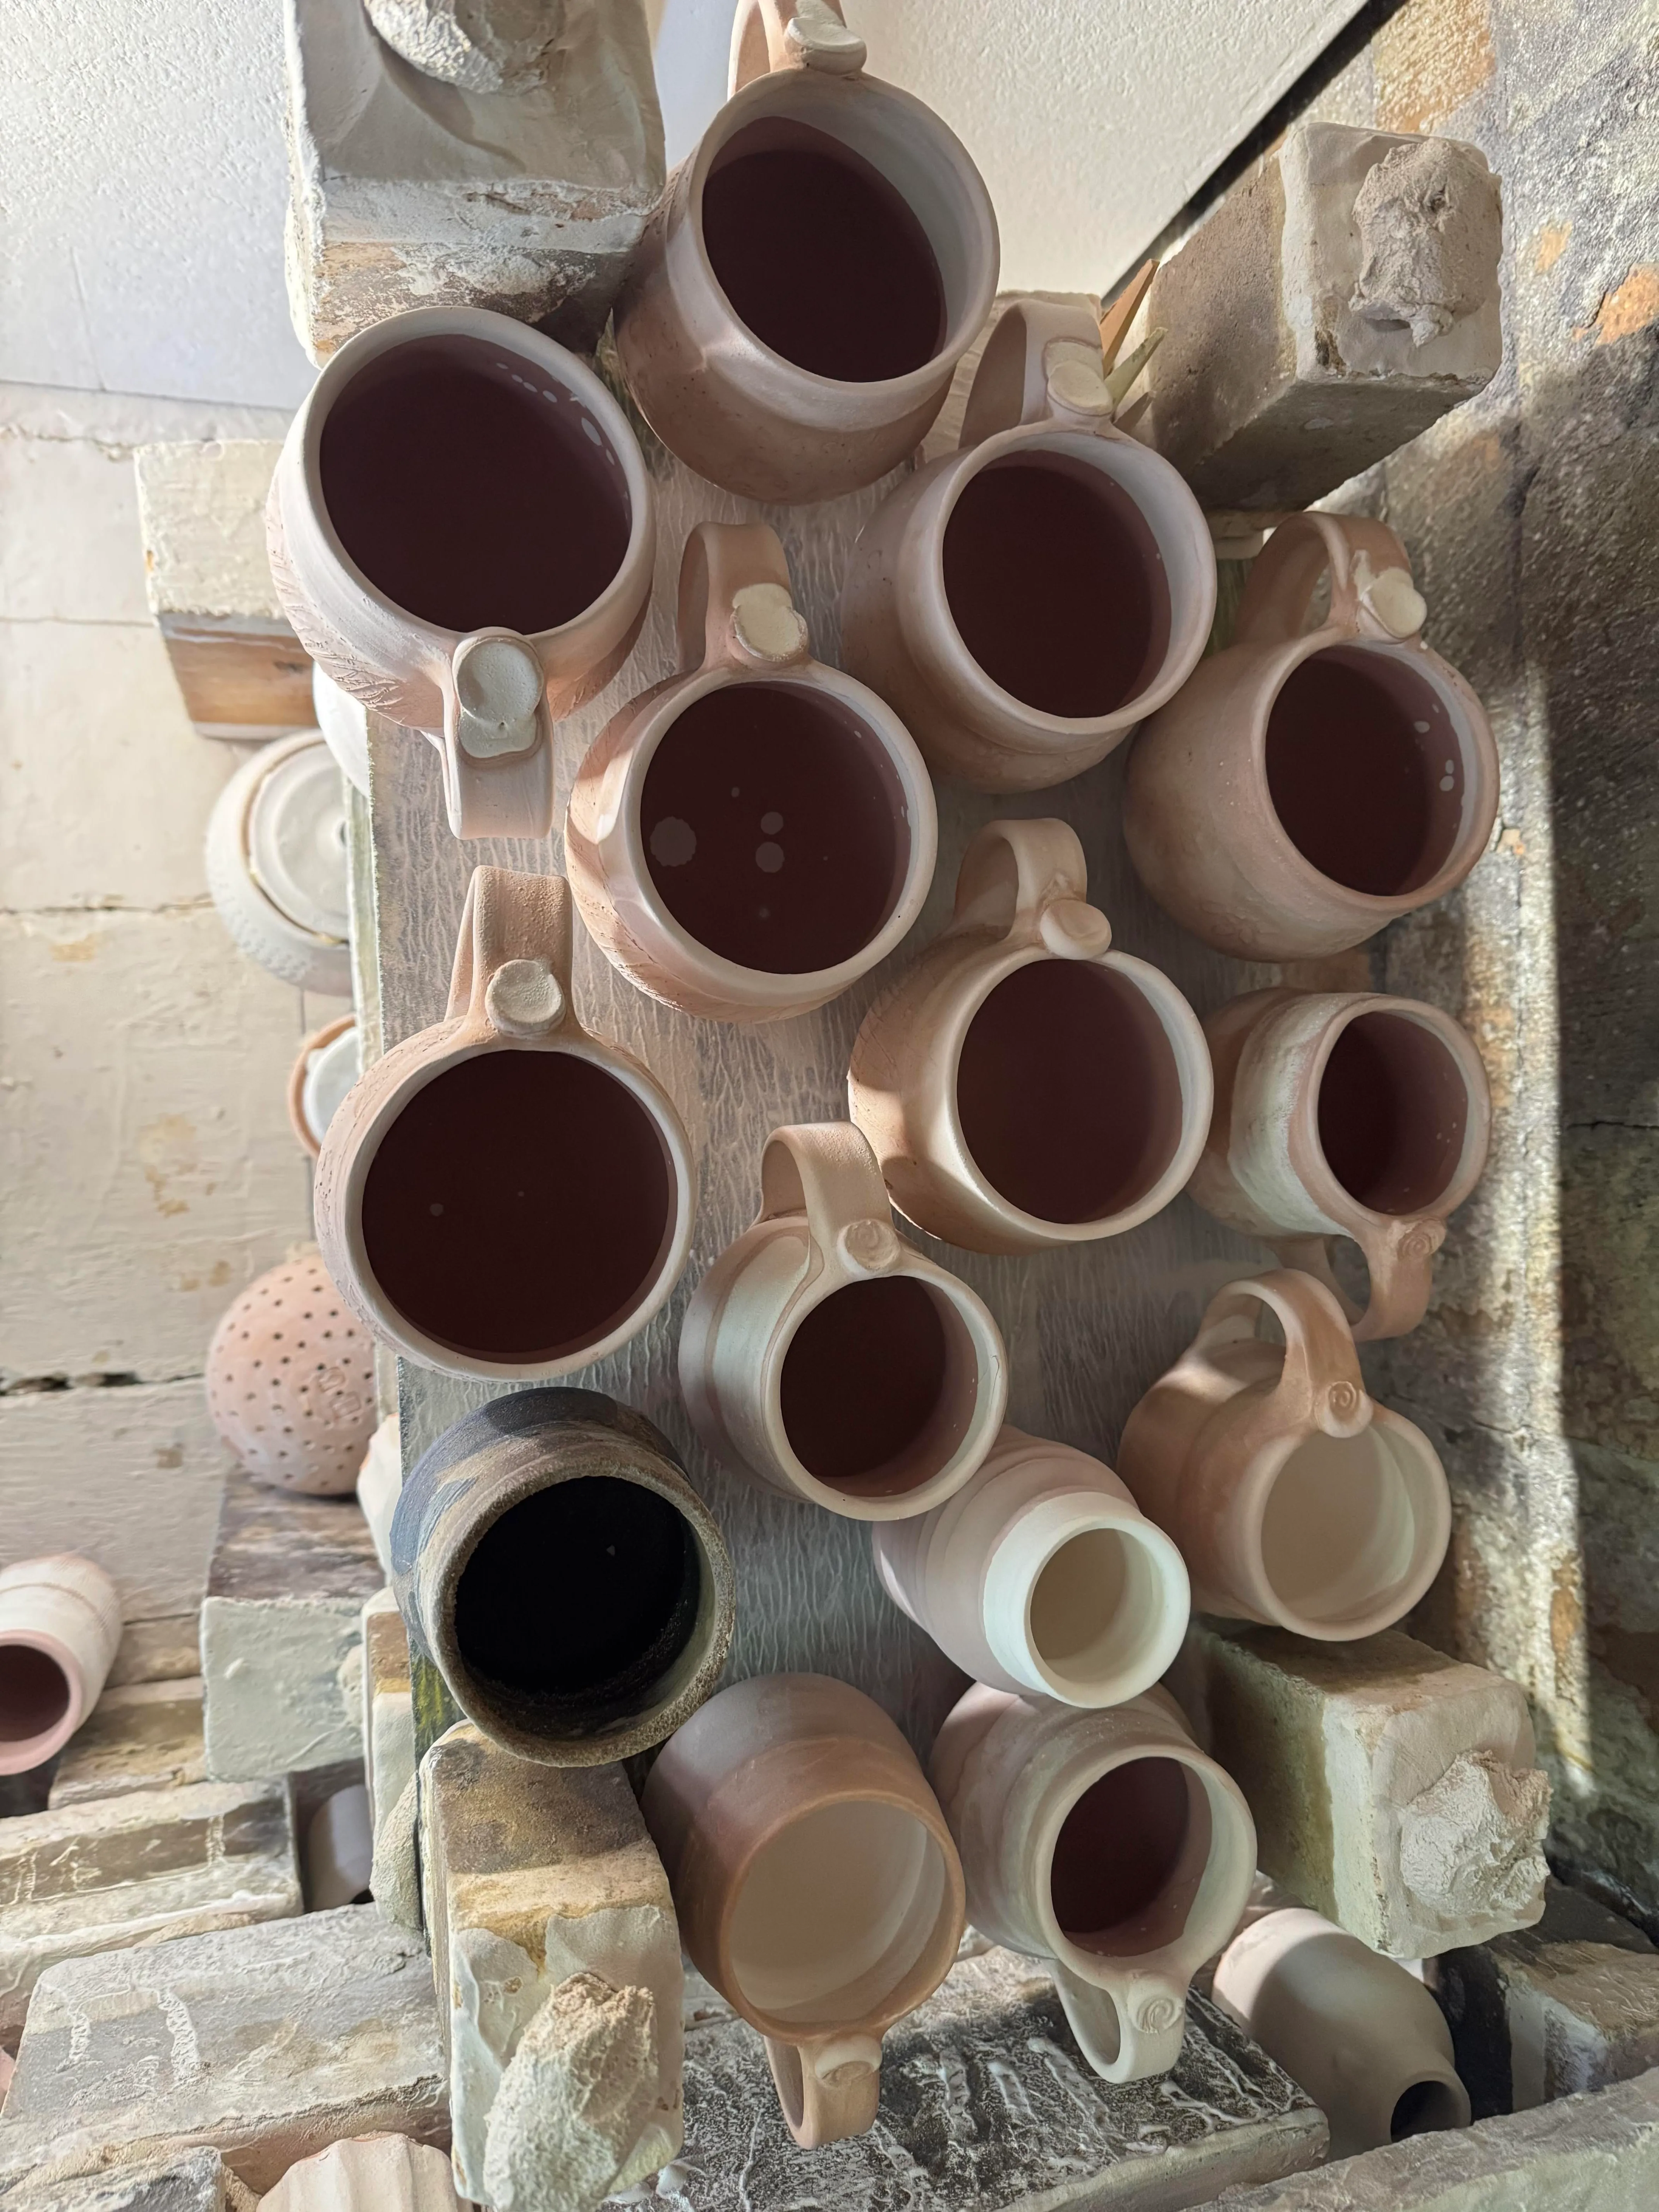
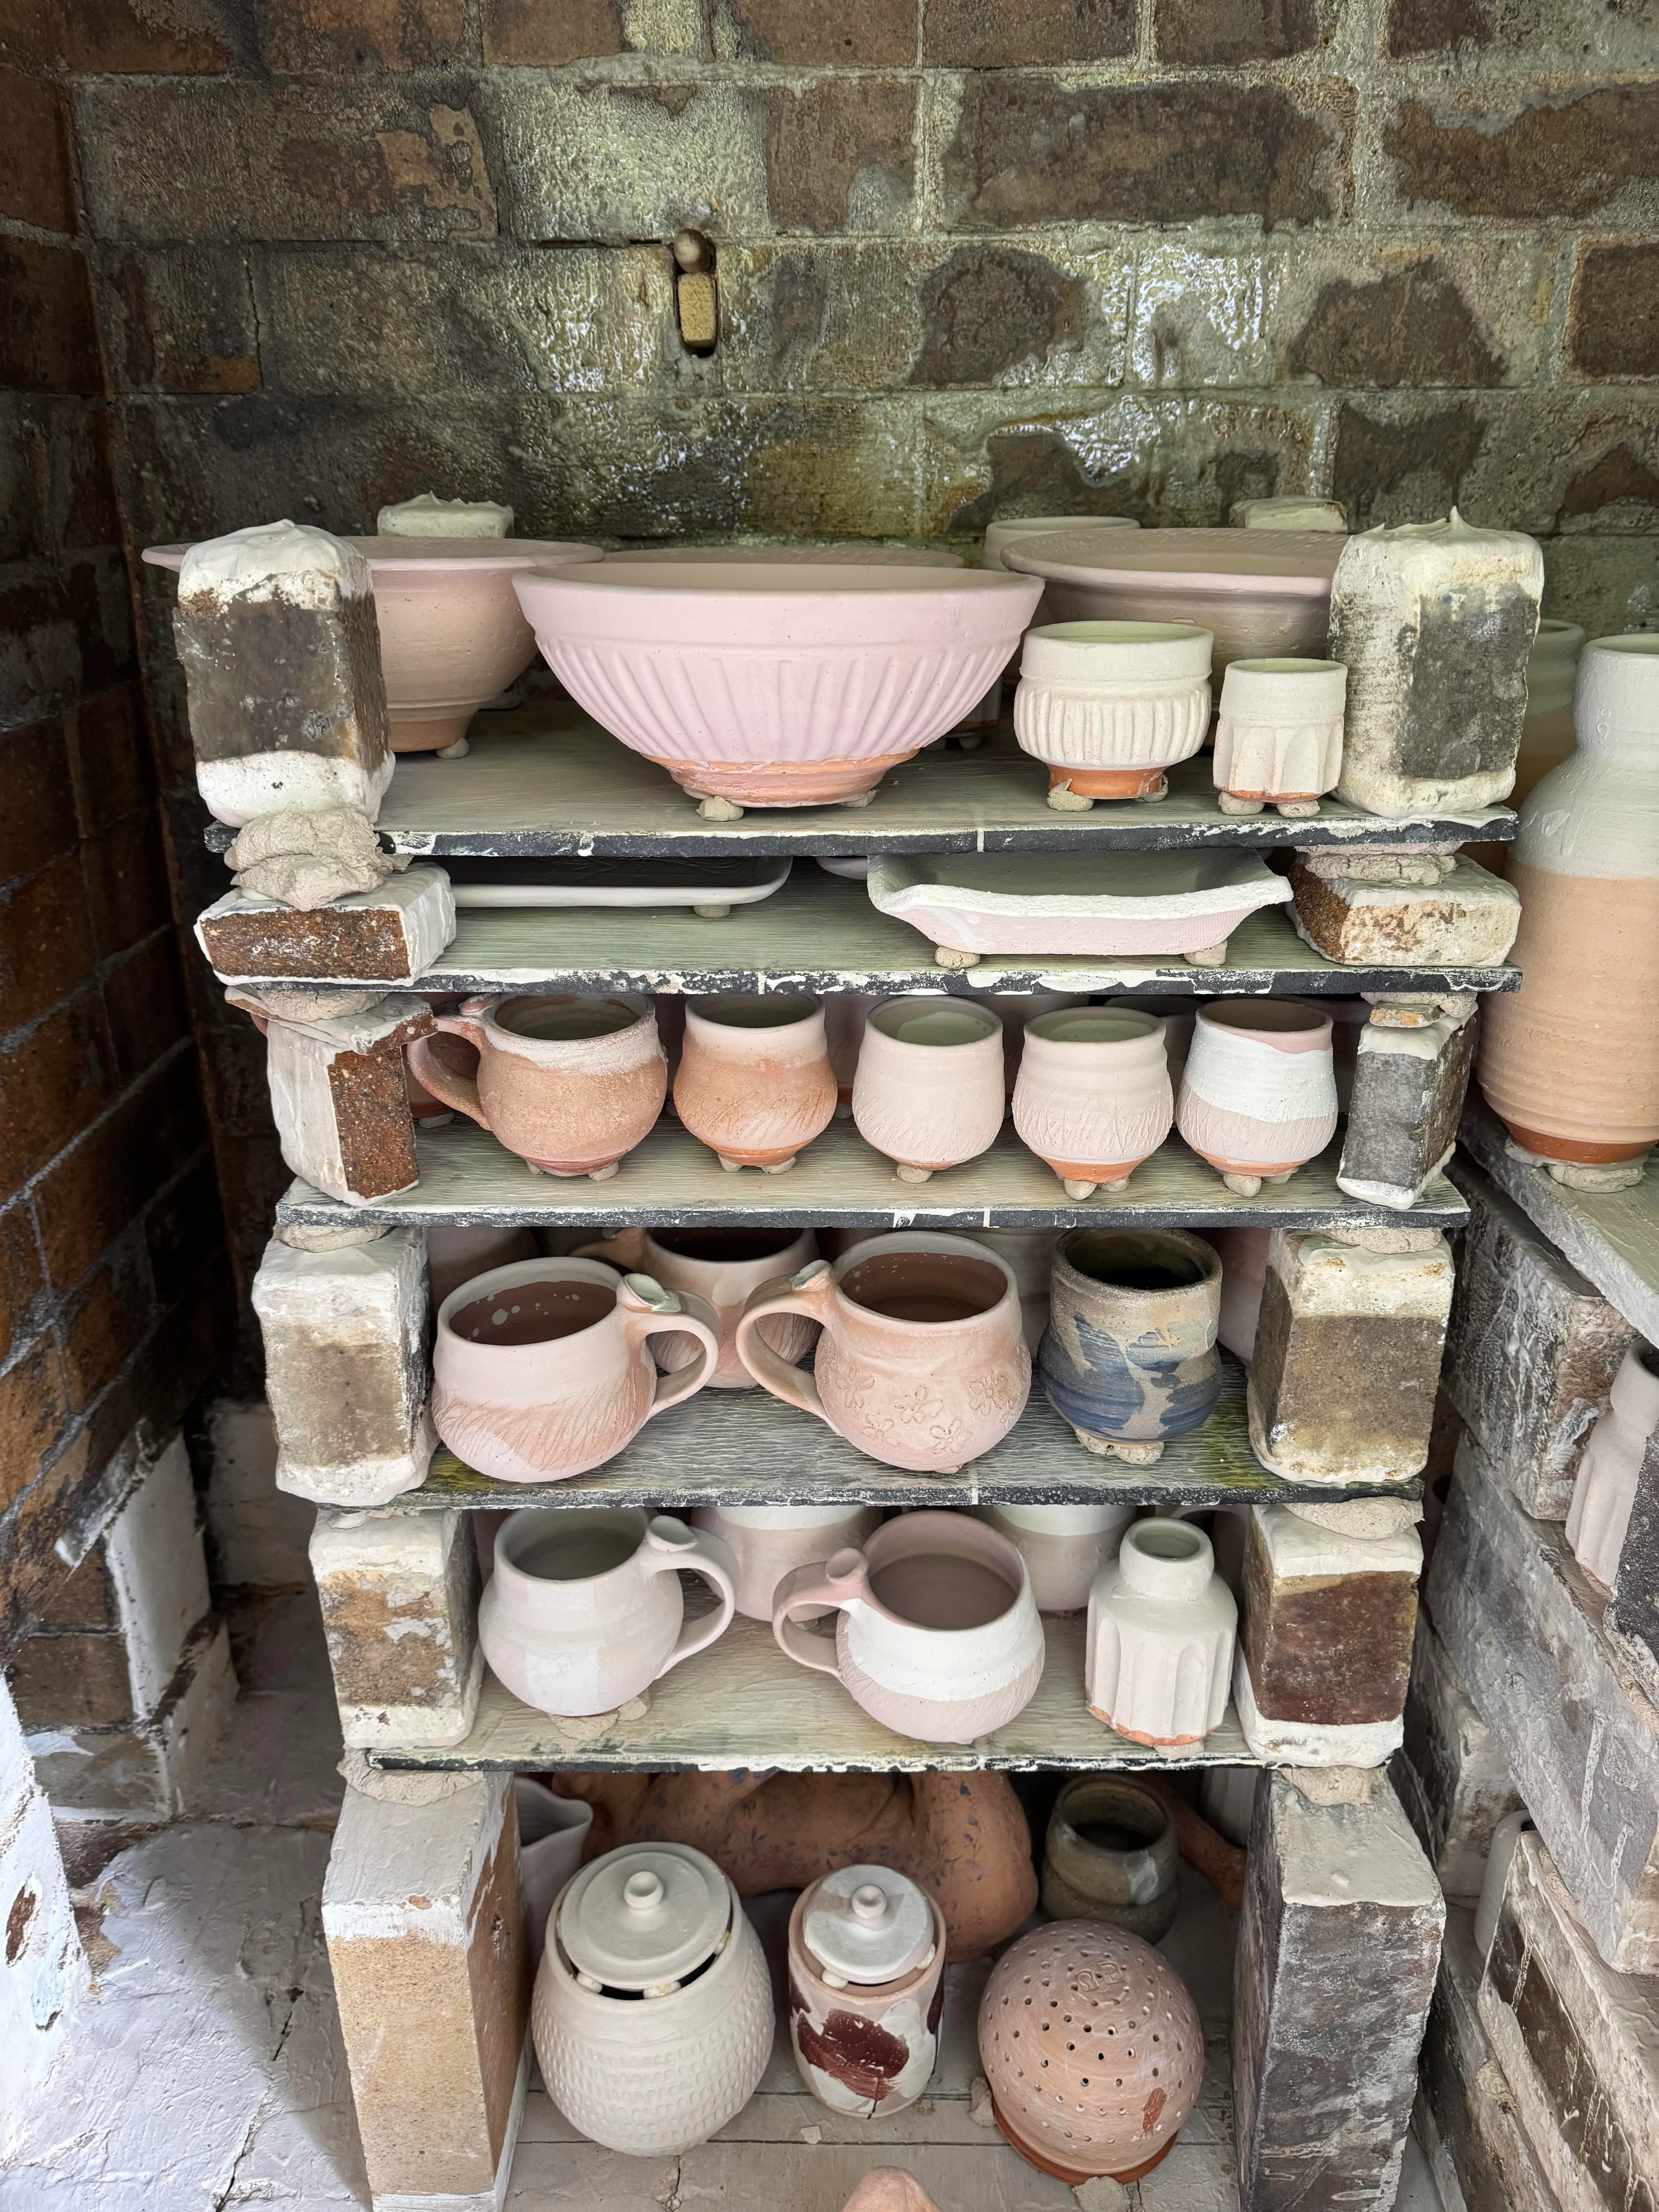
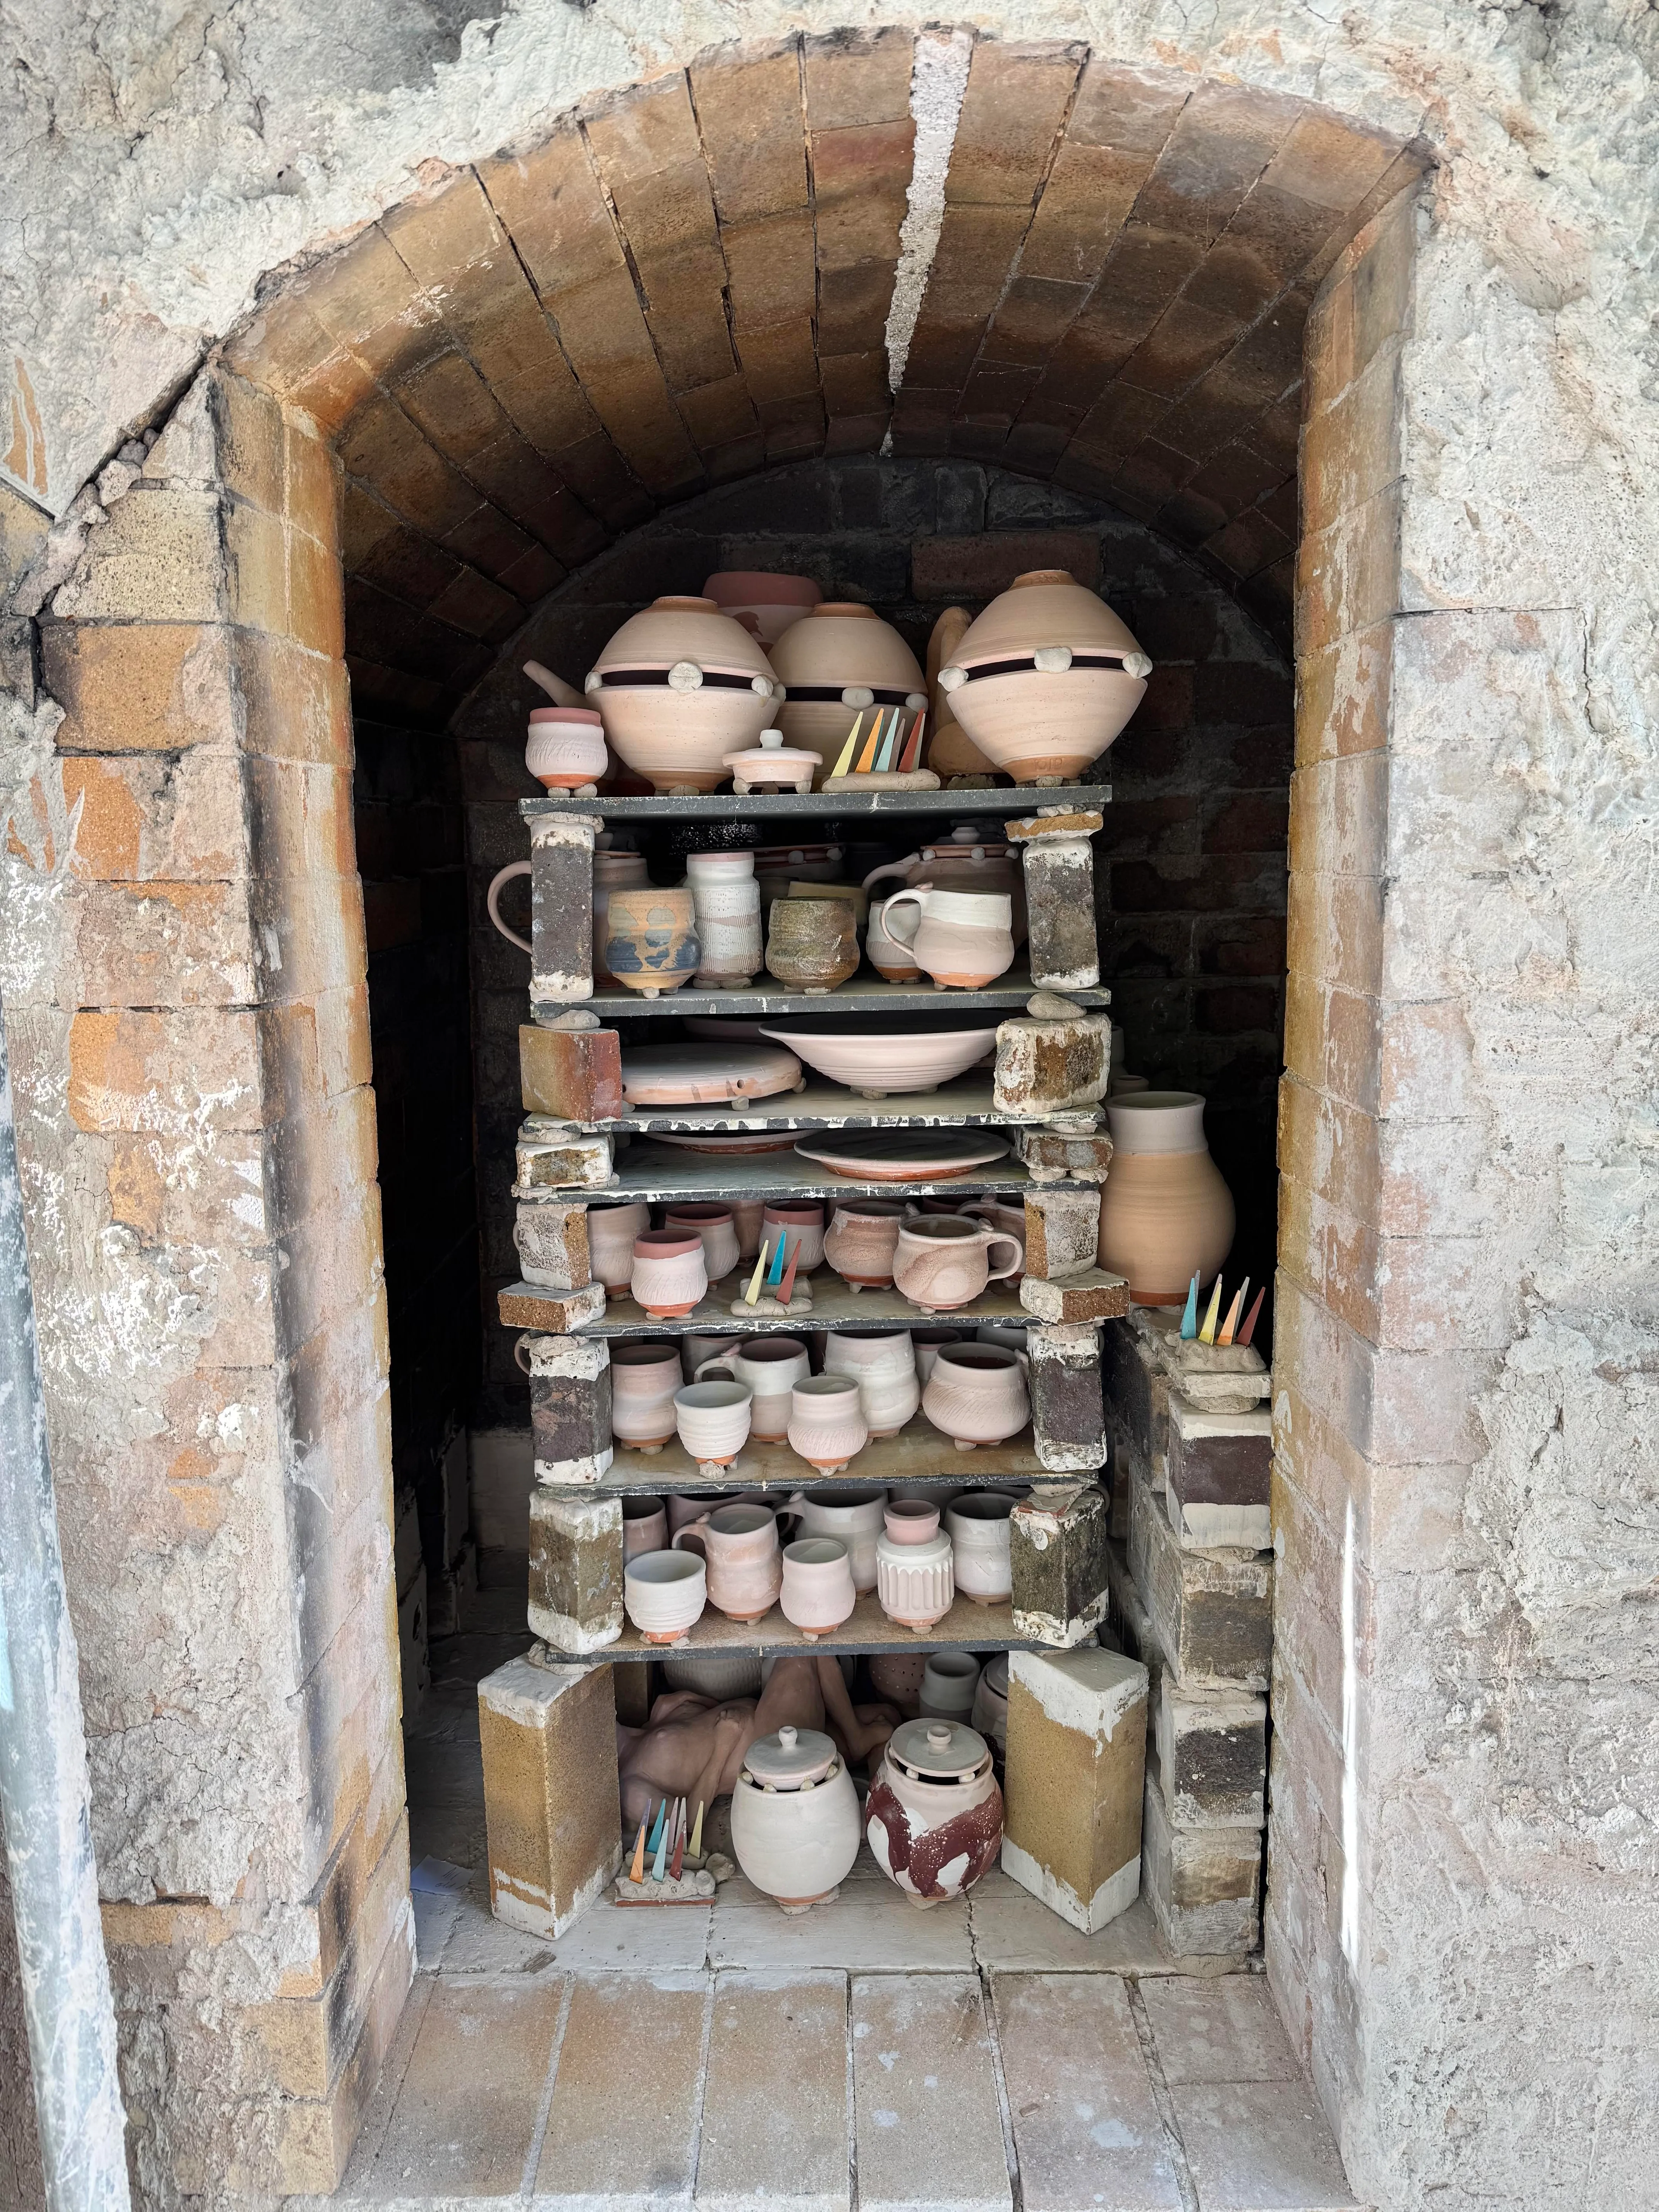
Firstly there are the pots to make.... cups, teapots, bowls, lidded jars, plates, sculptures, jugs, vases.
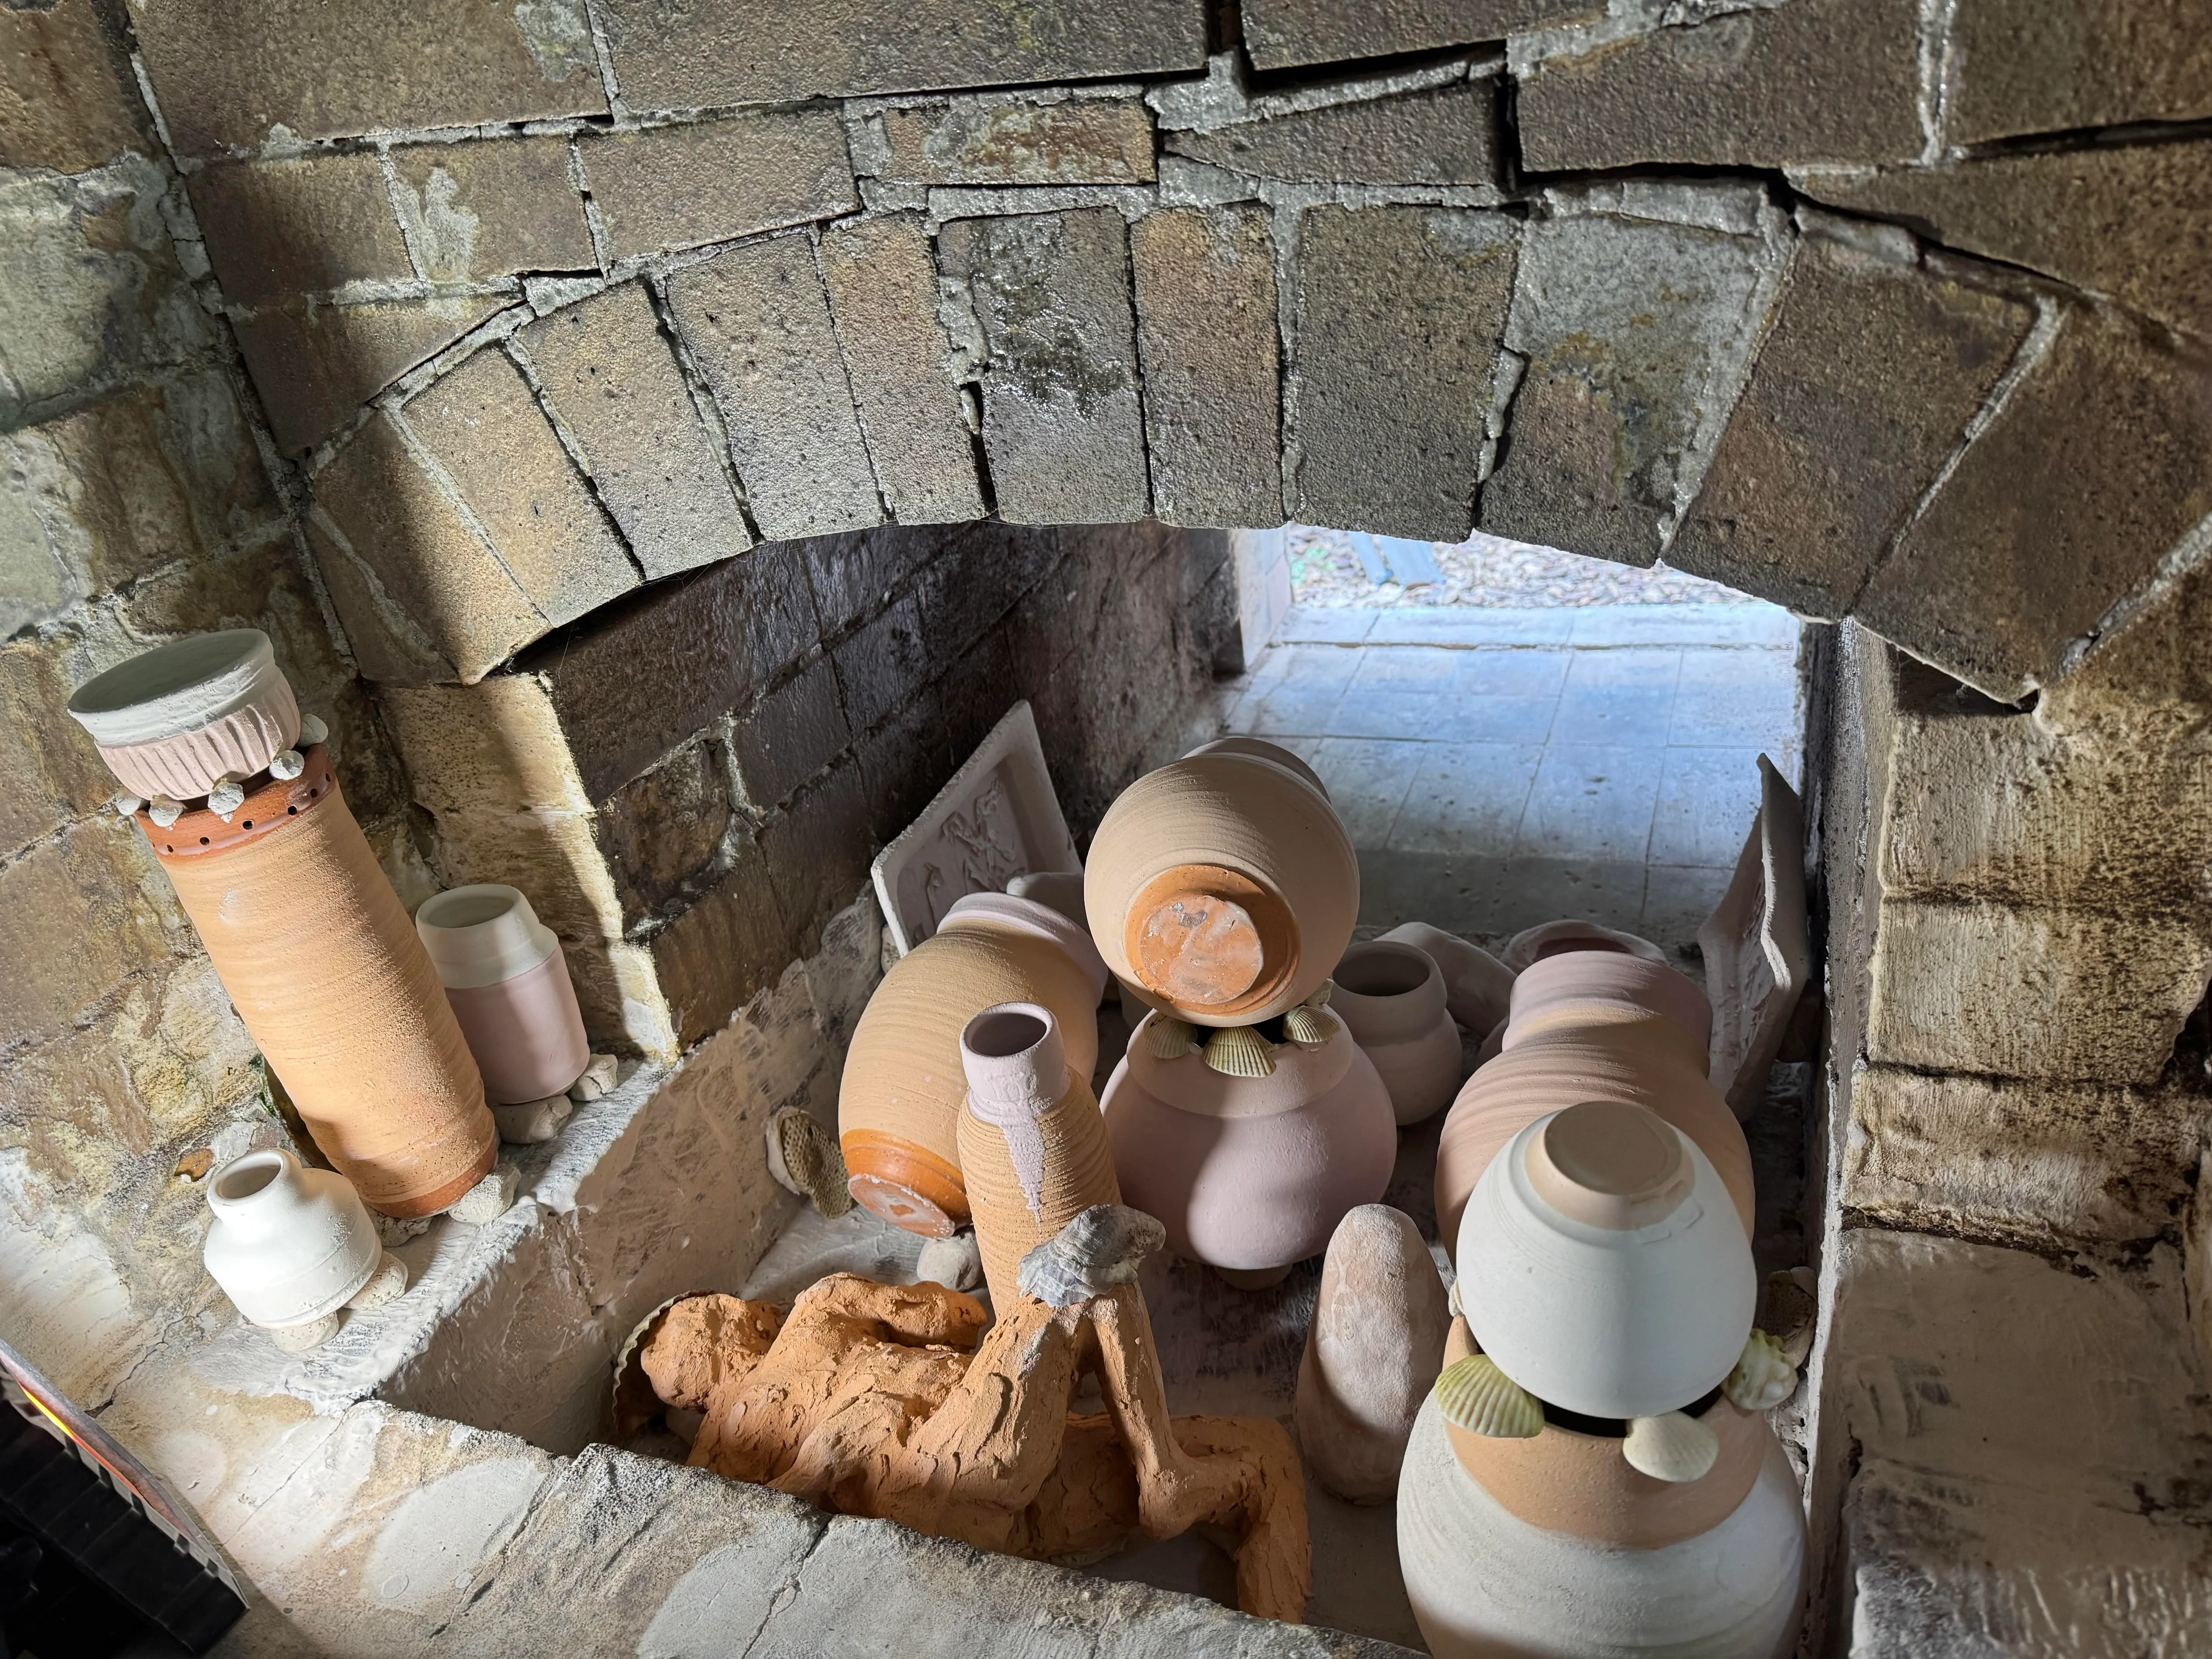
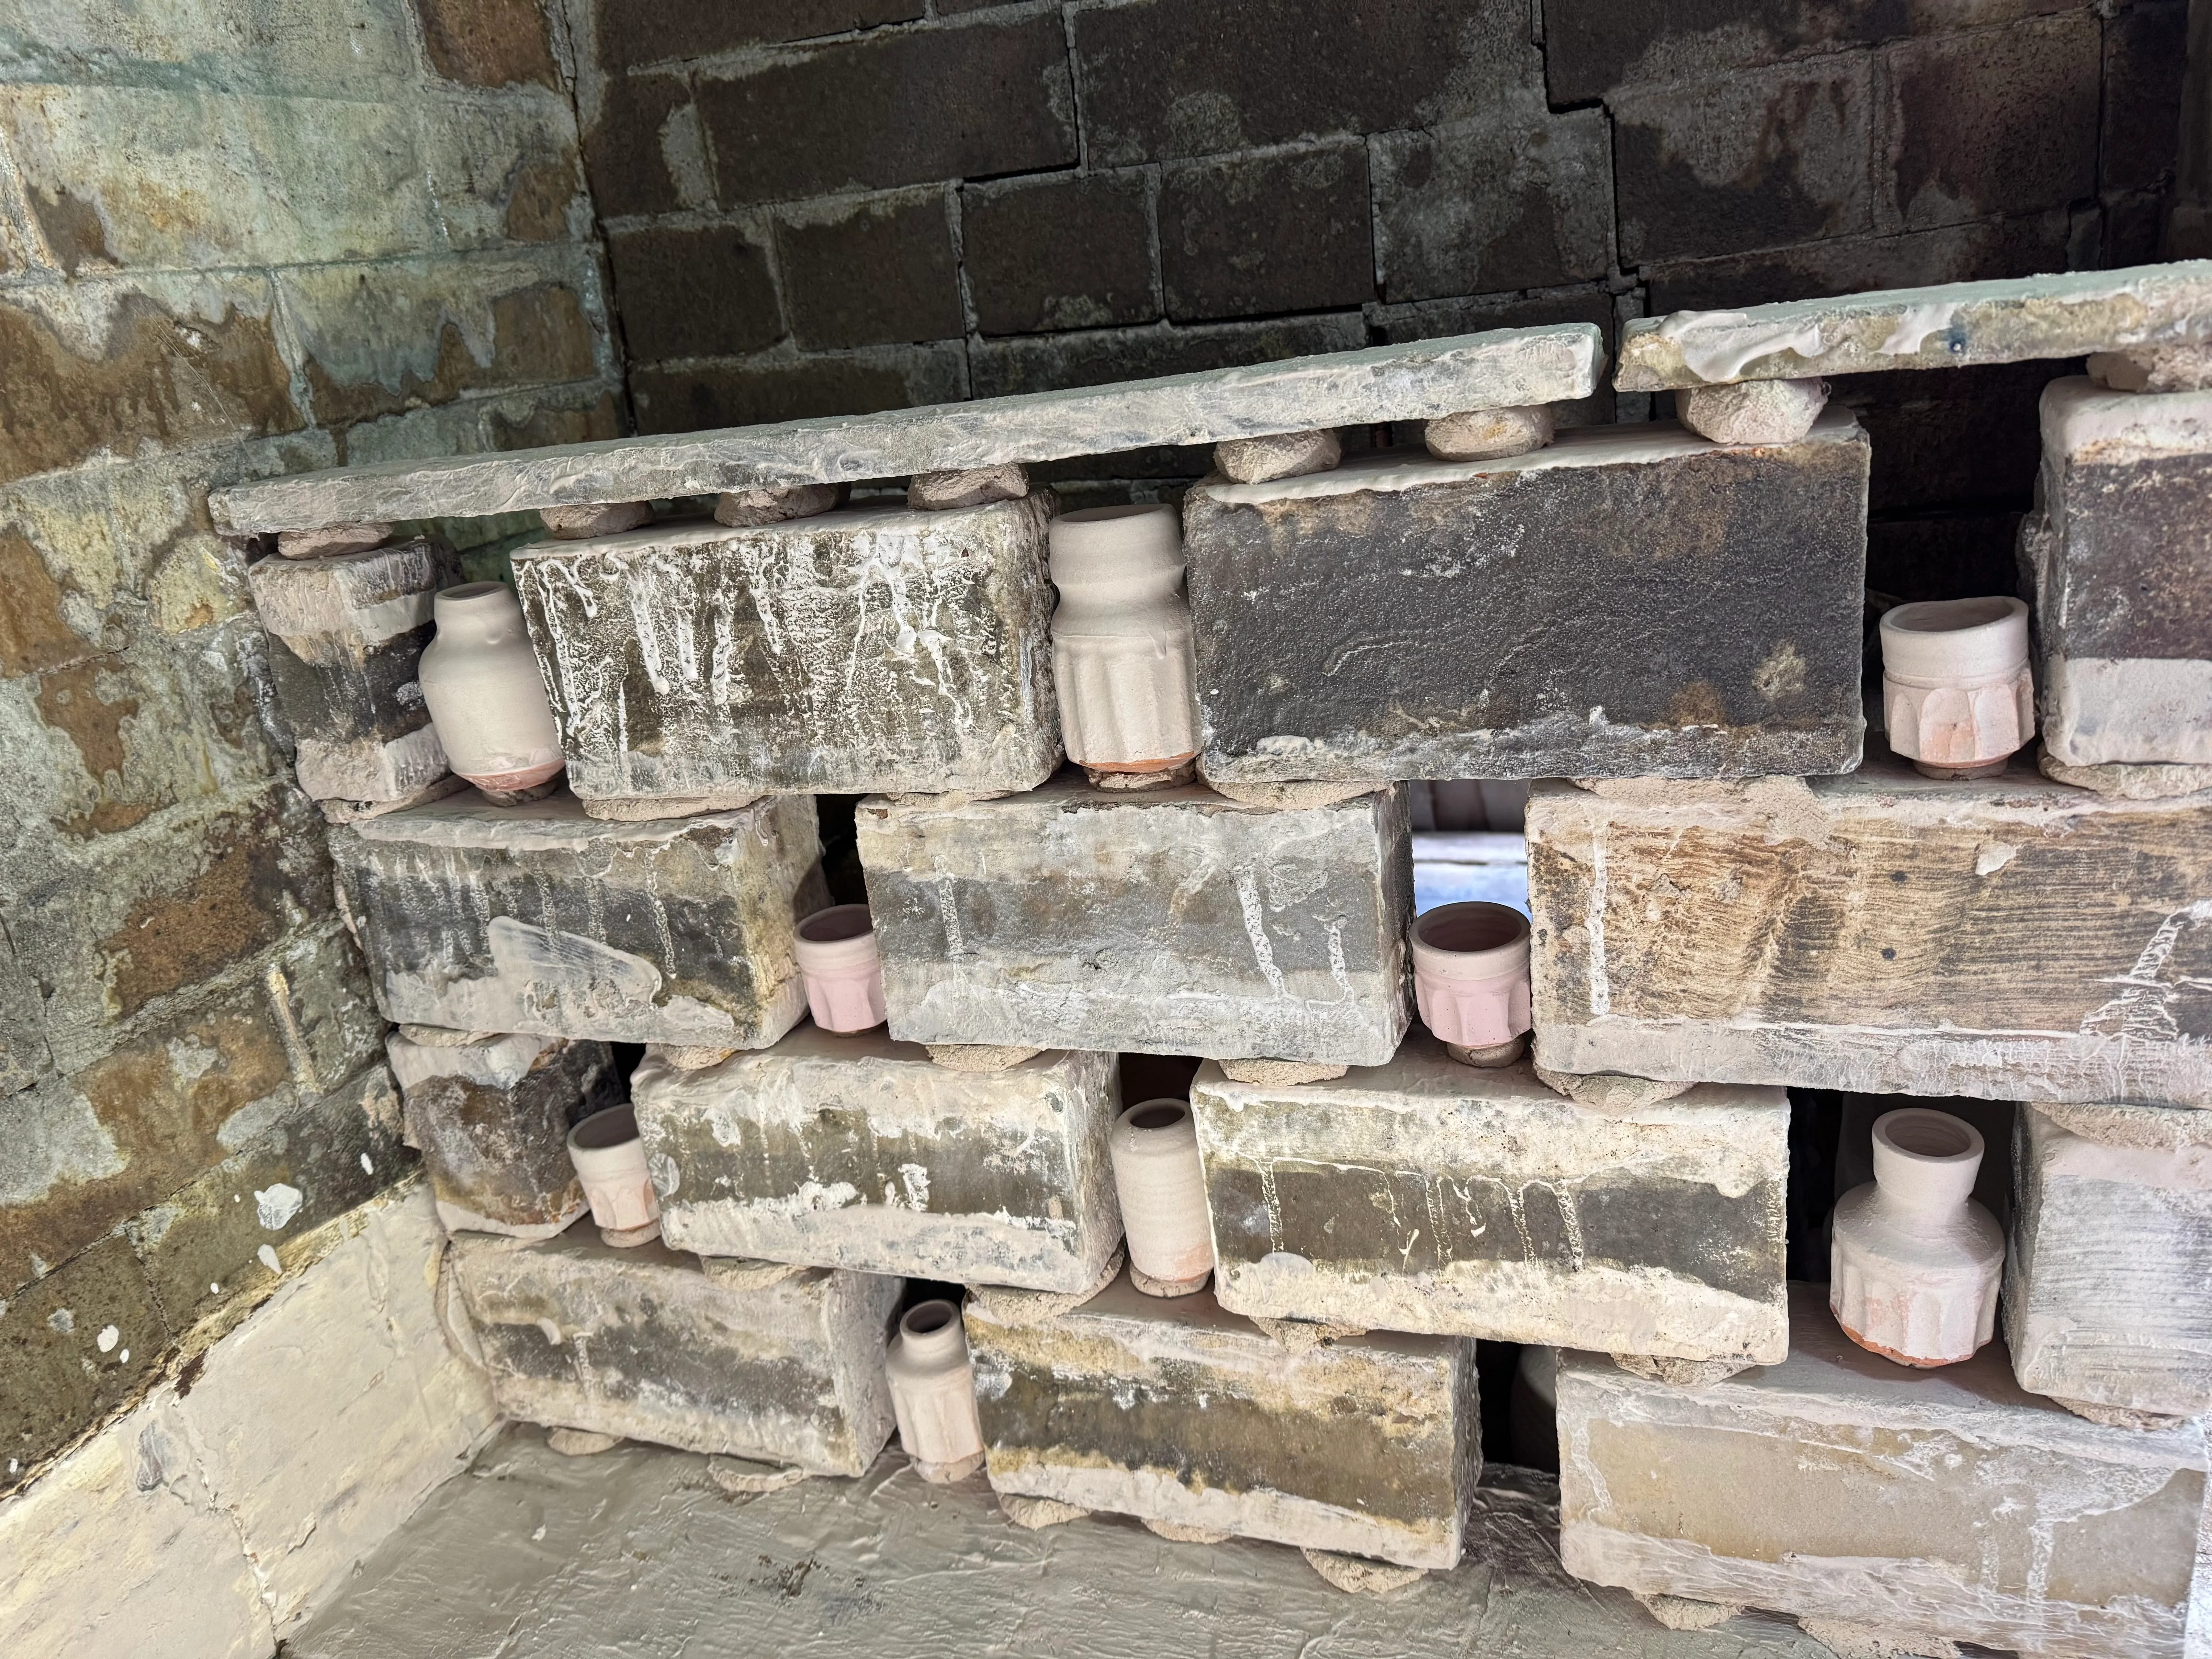
Consideration on how the forms will pack into the kiln and how the flames will move around the work is important. Choices of patten, shape and size are all aspects that can make or break a successful piece.
Then there are the surfaces.
Each piece is best considered carefully on how to best enhance its form in the wood fired atmosphere. Glazes, ash glazes, rock glazes, slips are all made and tested in the hope that they will help the work to sing.
While the work is being made there are other things to be preparing for the upcoming firing.
There is wood to source and cut to size for the hobs in the fire box and stacked for easy access for stoking during the firing.
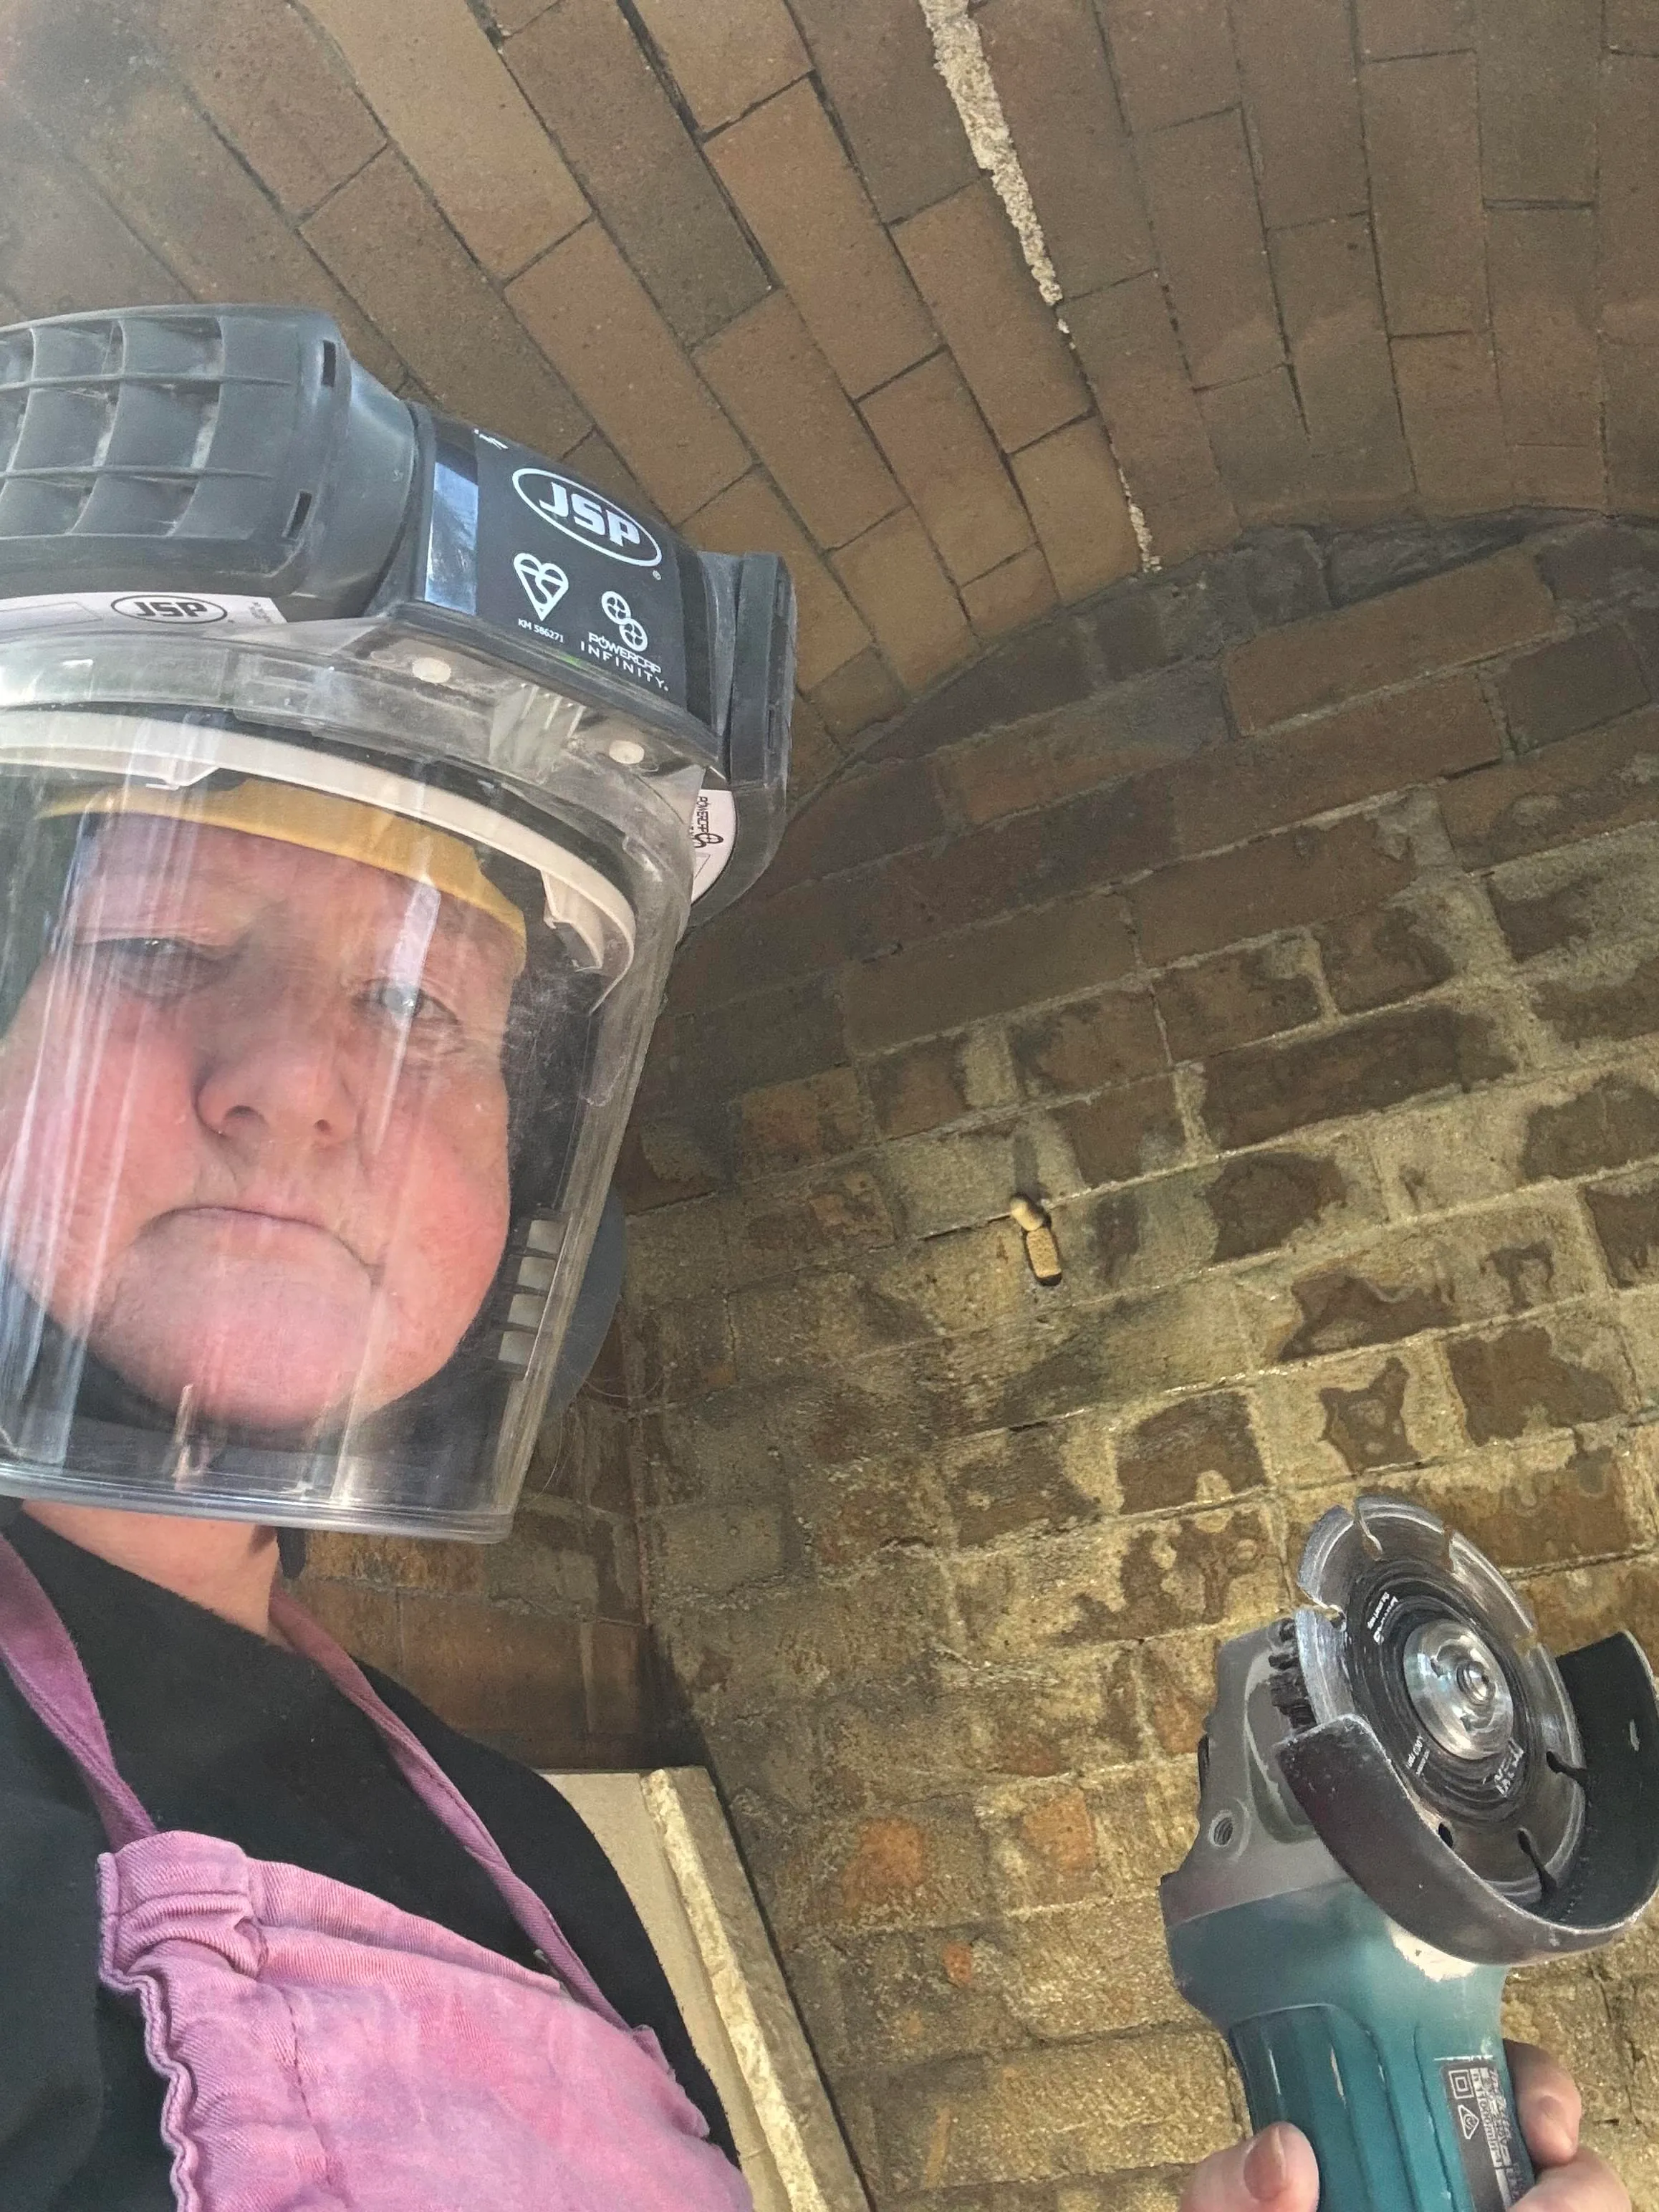
There are kiln shelves to clean up with an angle grinder. Wadding to be made and formed into balls. These are used on every pot which must be wadded to the kiln shelf and a coat of shelf wash applied to the kiln floor/ shelves to prevent the melting surfaces sticking to the kiln.
Once the work is made I bisque fire my pots.
Many wood firers don't bisque but fire their work raw, and this is best for getting good body reduction colour. However, I fire alone so I take things slow and steady. I like to fire my pots to 1000˚C first in my electric kiln which makes the packing a little less precarious and I can safely pack over a few days without too much worry about the damp mountain air.
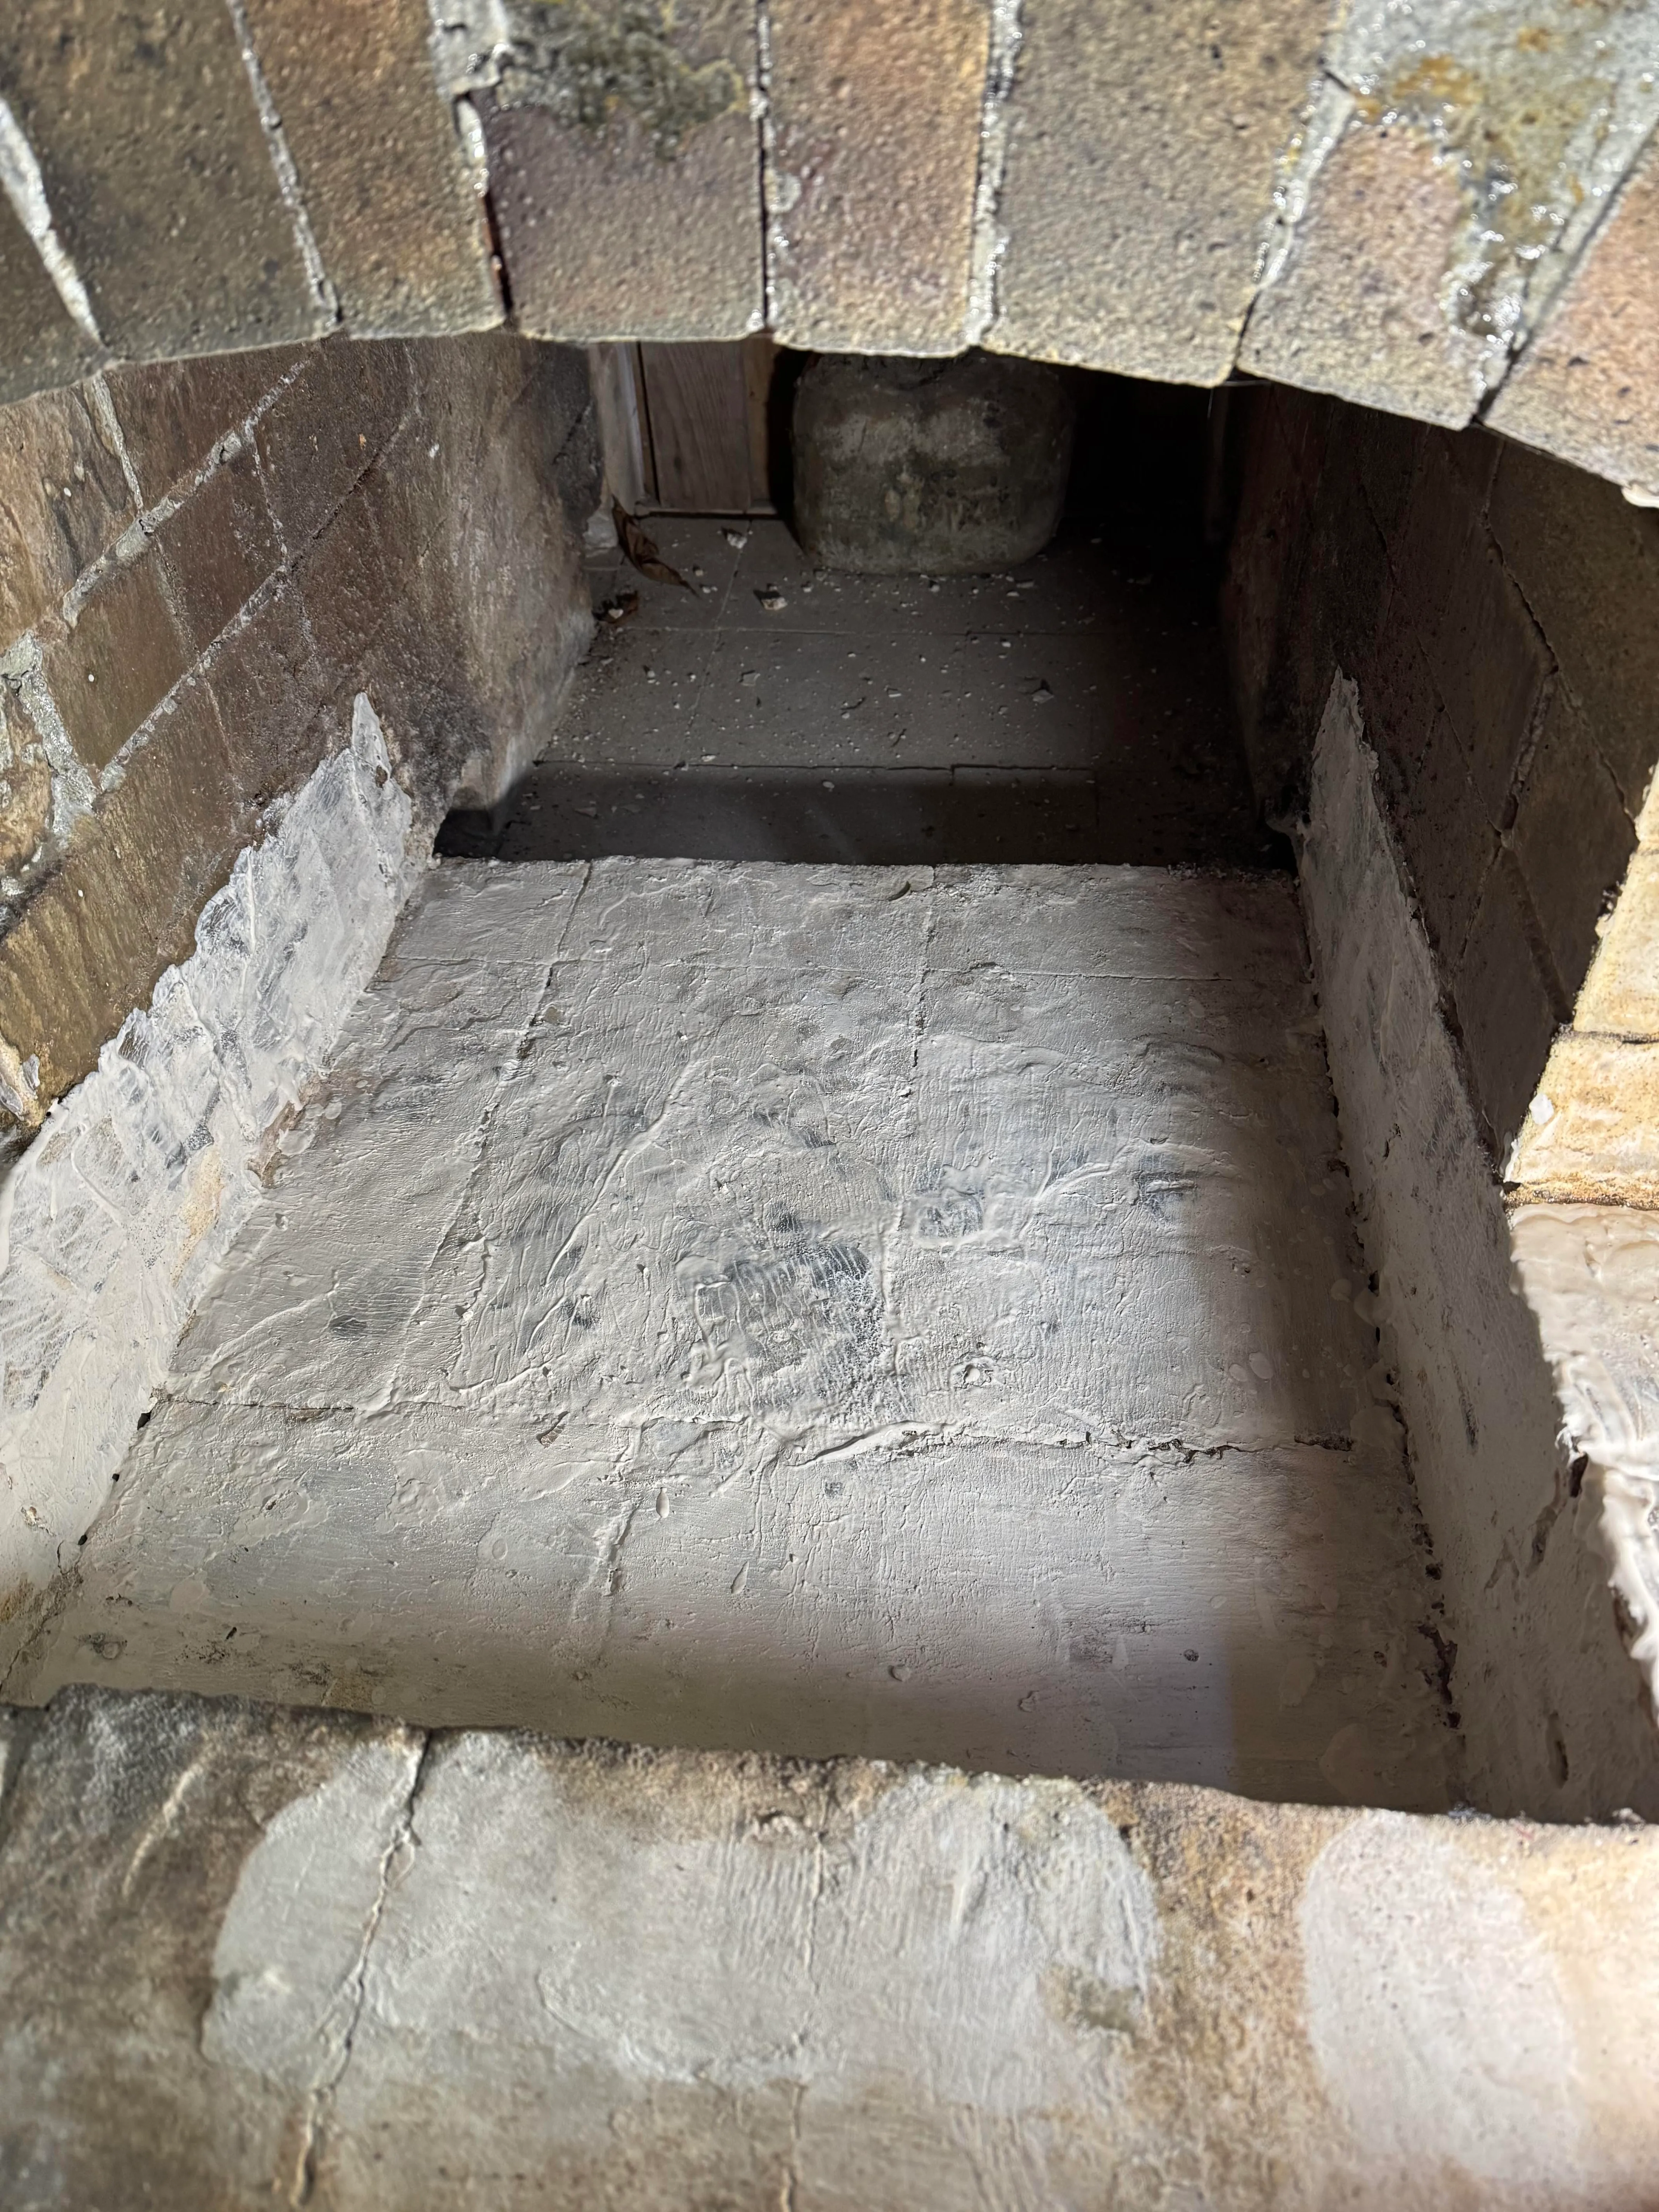
Packing is the part I find the hardest on my body.
Crawling in and lifting shelves carefully. Always considering the flame path as pots are placed in position.
This process takes me 3-4 days.
see video links here just below
click on IMG_0673 for packing
and IMG_0735 for bricking up the door
Once she is all sealed up I wait for the weather to be right for the 3-4 day firing process.
Firing on my own I like to aim to be well rested before I start.
I waited 2 weeks after packing for the weather to be suitable this time. I think I will continue this length of break time in the future as I was ready to cope with the short sleeps and long days of my firing schedule. This month has been so wet it was hard to find a brief break to light the kiln. I like to have a few days of fine weather so that I am not sitting in the rain or the wind, that way the whole experience is enjoyable as well as exhausting. The weather also needs to not be too hot to feel safe from bush fires. Autumn and Winter are perfect wood fire seasons and here in the Blue Mountains it tends to be misty and dewy in the mornings.
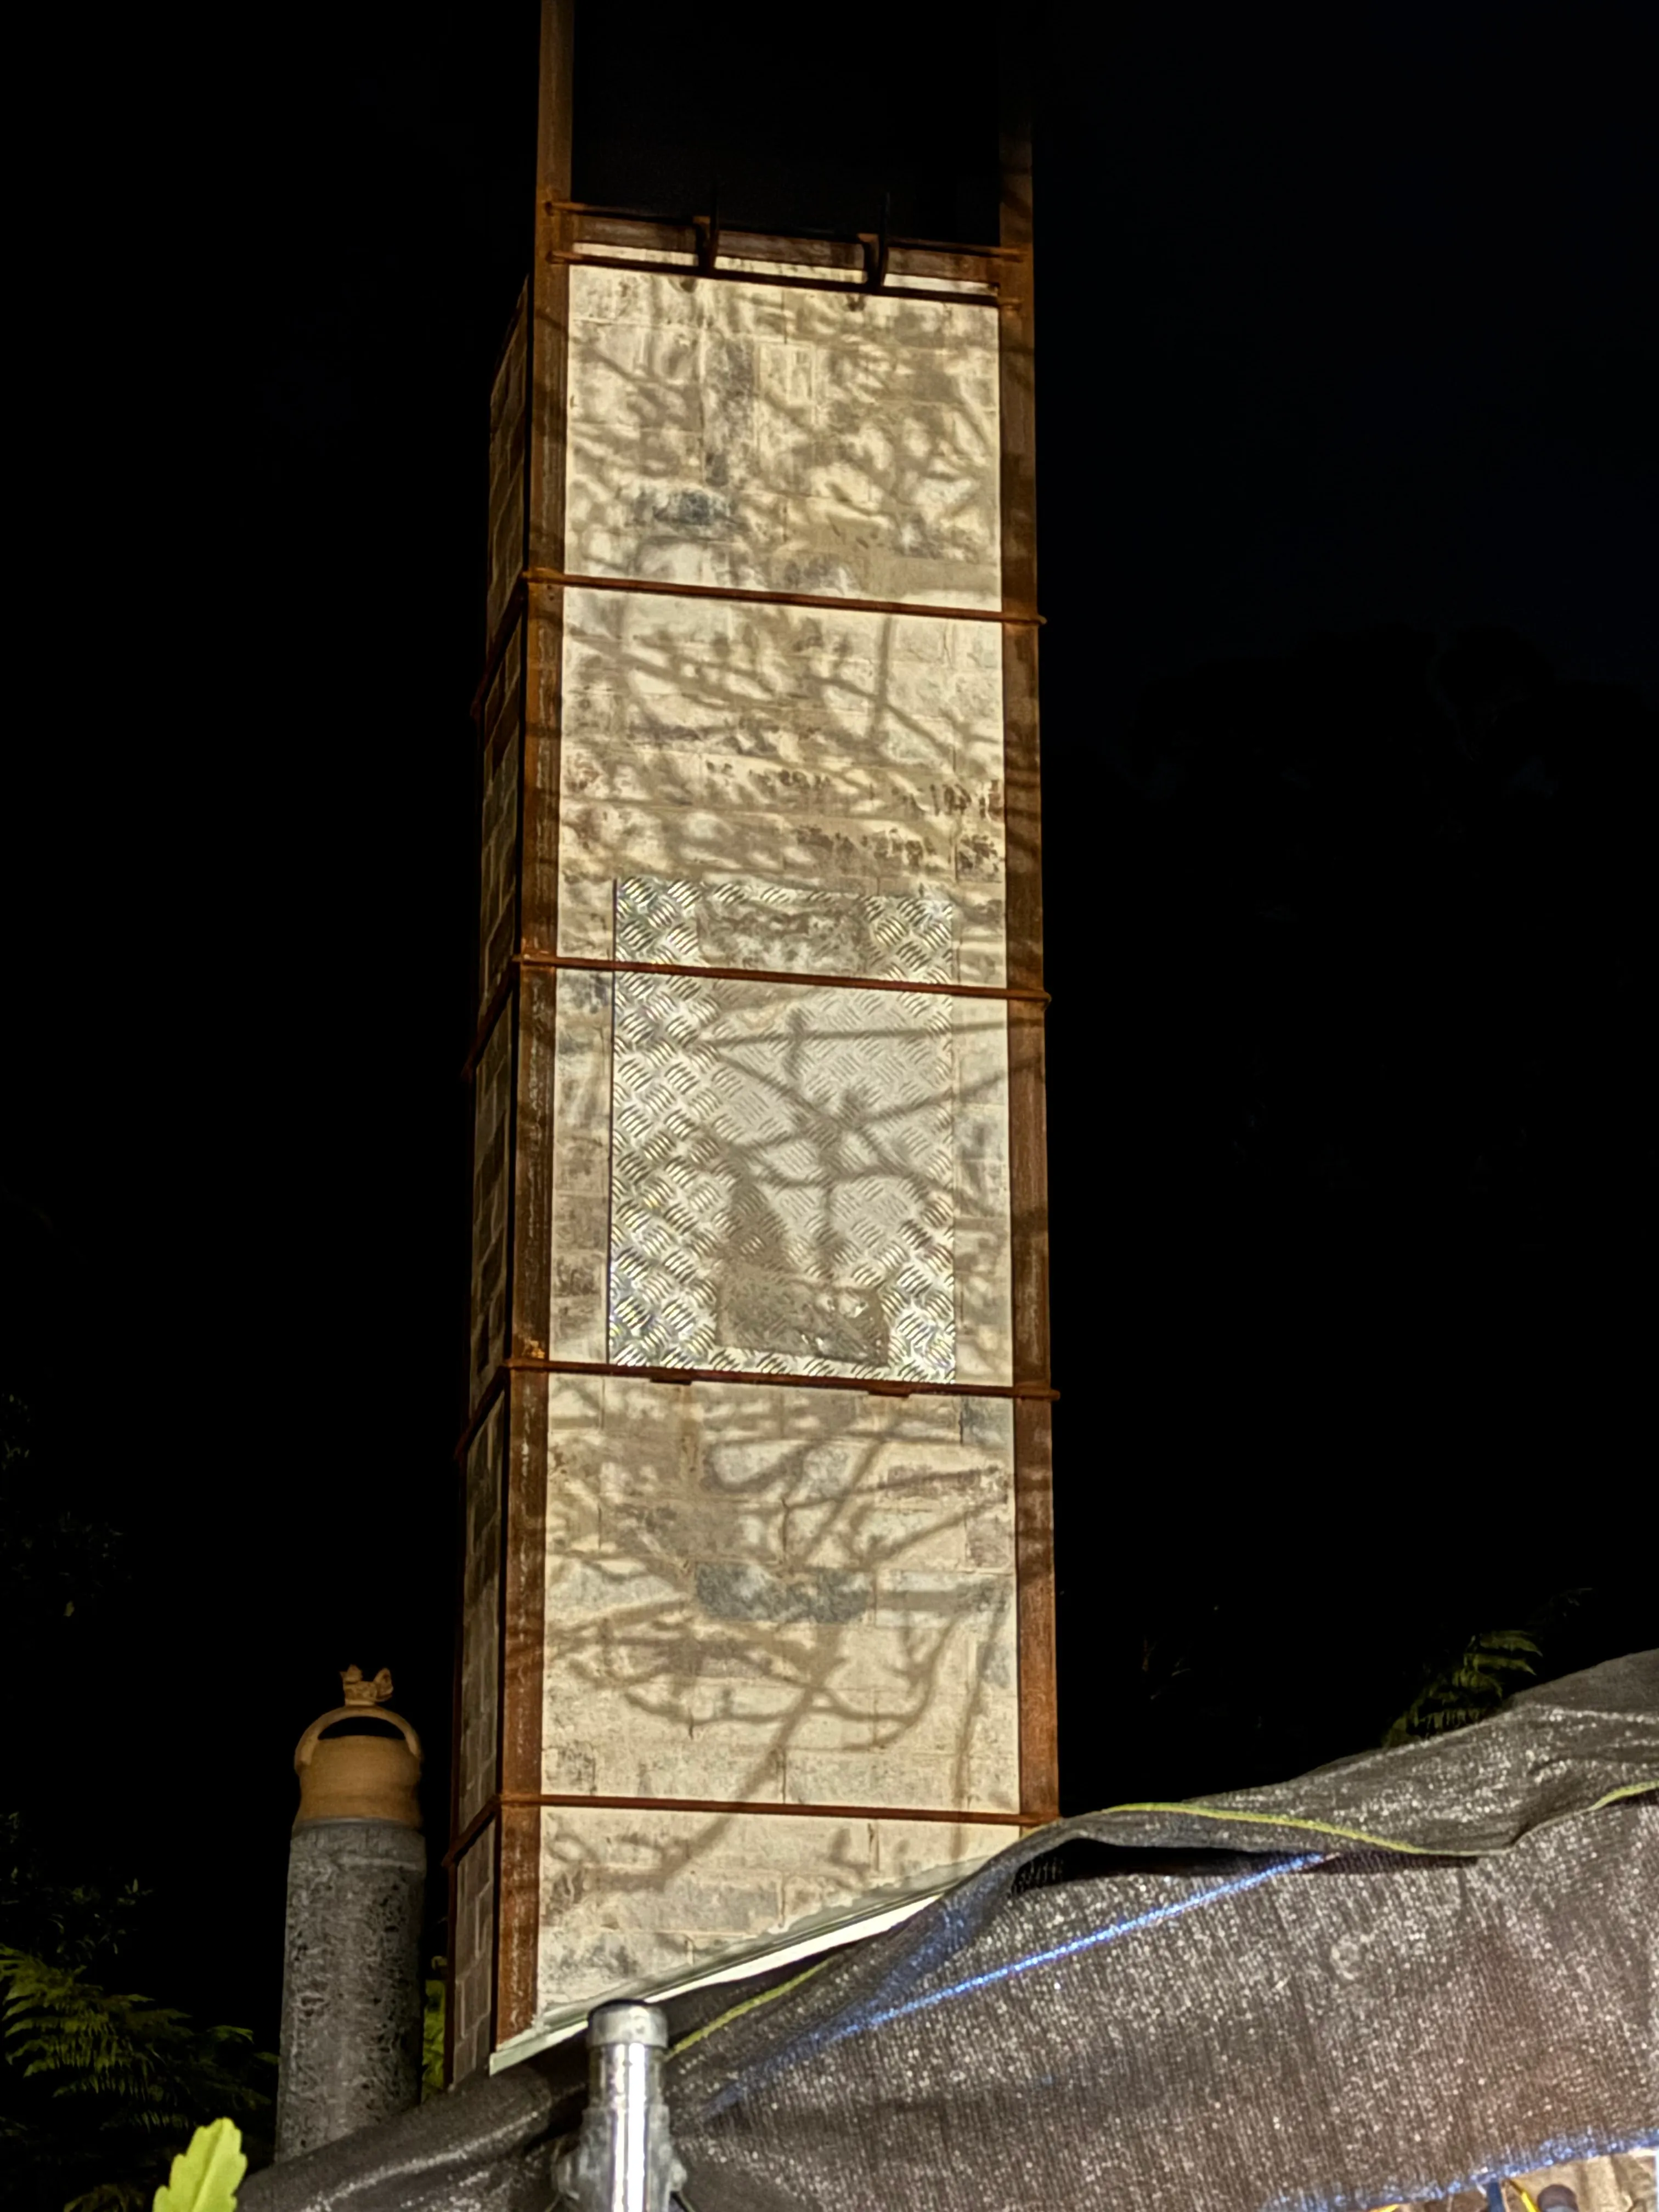
With the new chimney rebuilt earlier this year to nearly twice its original size I had thought the kiln may whoosh with a big draft soaring quickly to my 1300˚C temperature goal. This was not the case. The draft wasn't much different to the original chimney's lung capacity in regard to the fire size and the pull of the fire through the kiln. However what it did do was create very little smoke compared to previous firings with the shorter chimney. I am pleased about that for the neighbours sake.
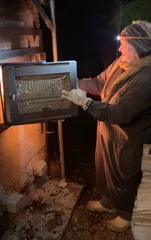
She climbed an average of 50˚C per hour making the process slow and steady. I closed her down each night around 9pm, giving her a big stoke to sustain her overnight. Tucking her in by closing the damper and mudding up all the primary air holes and cracks. Early each morning I opened her up again. All the mouse holes were opened and also the damper letting her breathe the morning air as she would roar off into the day. She only dropped a little when I would get her going in the mornings.
The first day is warm up day.
I think of this first day as the equivalent of "candling" the kiln overnight with a gas flame. I don't have gas so this is my alternative. I take it slow with just sticks at the front of the kiln for the whole day and I only aim to get to about 300˚-400˚ before I shut down.
In the morning of Day 2 she had dropped to about 250˚ but she soared quickly back up to 400˚ in half an hour. I aim to get as close to bisque temp as I can on day 2 but this time I was only at about 600˚ but I was happy with that.
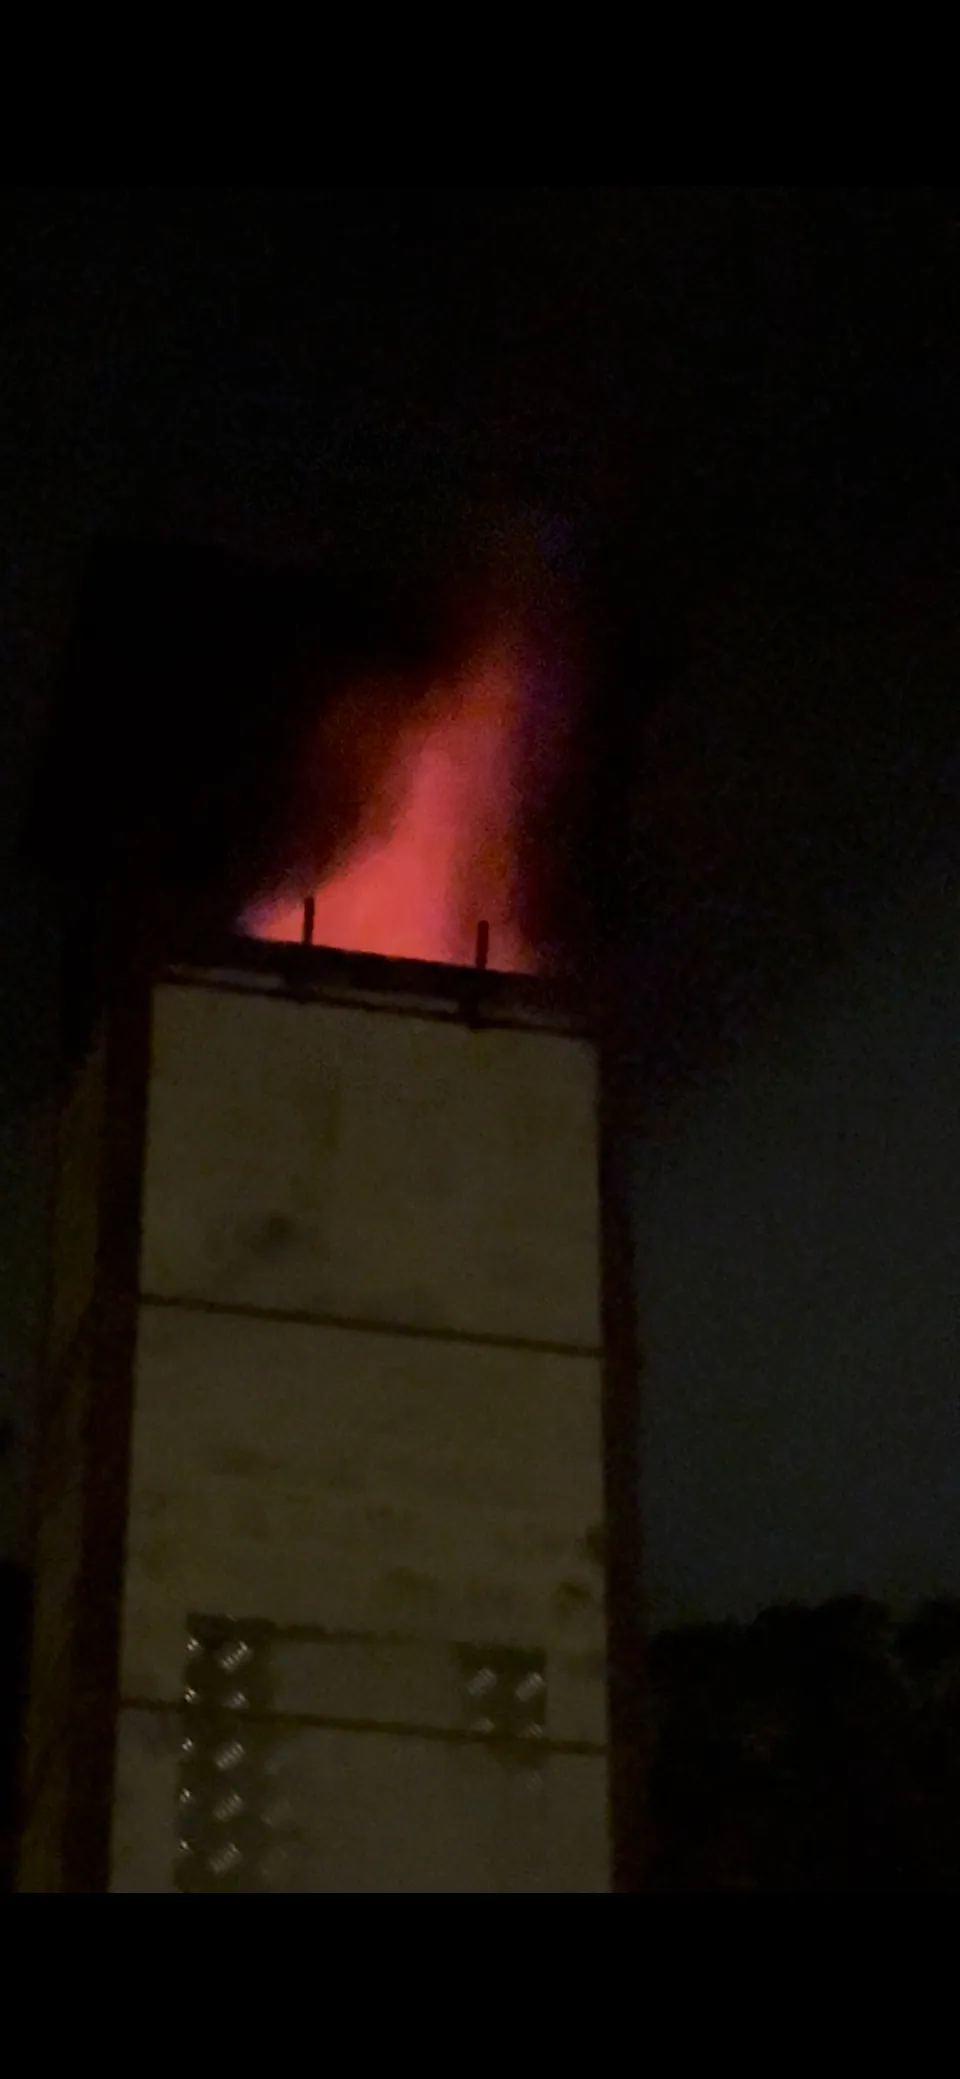
Day 3 she dropped to about 530˚ and was up and away again happily in the morning but a little slower at the waking up. By the evening all the bisque cones were evenly down but only cone 5 was bending, flame was coming out of the top of the chimney but I was having difficulty working out why she wasn't making the assent easily. My aim is always to try to complete the firing on Day 3 but I could see at about 10pm that it was going to be a long night if I kept at it so I decided to shut down again and had a short sleep before getting back to it at about 2:30 am.
Day 4 was starting to feel very long even at the start of the day! I tried so many different combinations of ins and outs of dampers and mouse holes and primary air holes but nothing was shifting her past the 1000˚C mark.
By 6pm I was feeling defeated and then I felt cross that I had put everything I had earnt from my pottery over the last year into my new chimney, grate and fire wood and I was not seeing any improvement for it.
All fired up and tired I thought, I can't safely do another night/day at the fire box so I am just going to get as much flame through the kiln using the wood around the kiln before I give up...... and then a shift happened....I should have got cross earlier!!!!. Fire in the belly was what I had and she needed!
I had decided to change up my stoking and get a bit radical and experiment.....What did I have to lose? I had tried so many different things with all the possible kiln openings so I decided to start dropping the wood one piece at a time to maintain the fire in the flue, as the fire retracted I would put another in. I kept fire in the flue this way for over 6 hours. I ended up with cone 8 down and 9 bending but I will be interested to double check that when I open the kiln. This does mean I will probably need to re fire some work in the electric kiln to get the right melt but hopefully the sculptures will be fine with lots of ash and flame effects.
So although I am crest fallen and feel defeated this time, my 13th firing in S-L, I am not giving up!
Each time I have new understanding about my 'Sandy-Lucinda Wood Kiln' to carry with me into the next time when I manage to have everything in place to fire again. Next time, once I have cones 06 down I will be stoking to the floor very slowly until I reach cone 10-11.
Every kiln is different and it takes time and patience to learn about each personality, digestive habits, breathing capacity, idiosyncrasies and how to live with it in a sustainable way in order to bring out the best in the ceramic babies in their bellies.
You can listen to more of my story on The Potters Cast -pod cast.